Name/Title
Article - Mrs Sanders Dress CuttingEntry/Object ID
2005.09.01.24Scope and Content
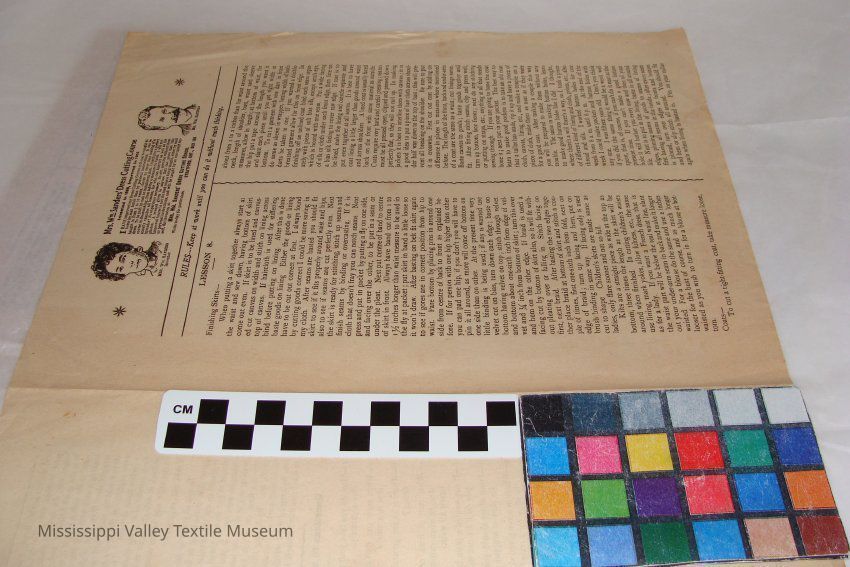
Newspaper article, on 2 letter sized pages together. Paper is browning, has 2 collumns, the first labled " Lesson 8" is full of text. Title page has the drawn images of 2 people, One is a woman labled " Mrs Wm Sanders Inventor" and the other is a man labled as "Mr. Wm. Sanders."
Transcription :
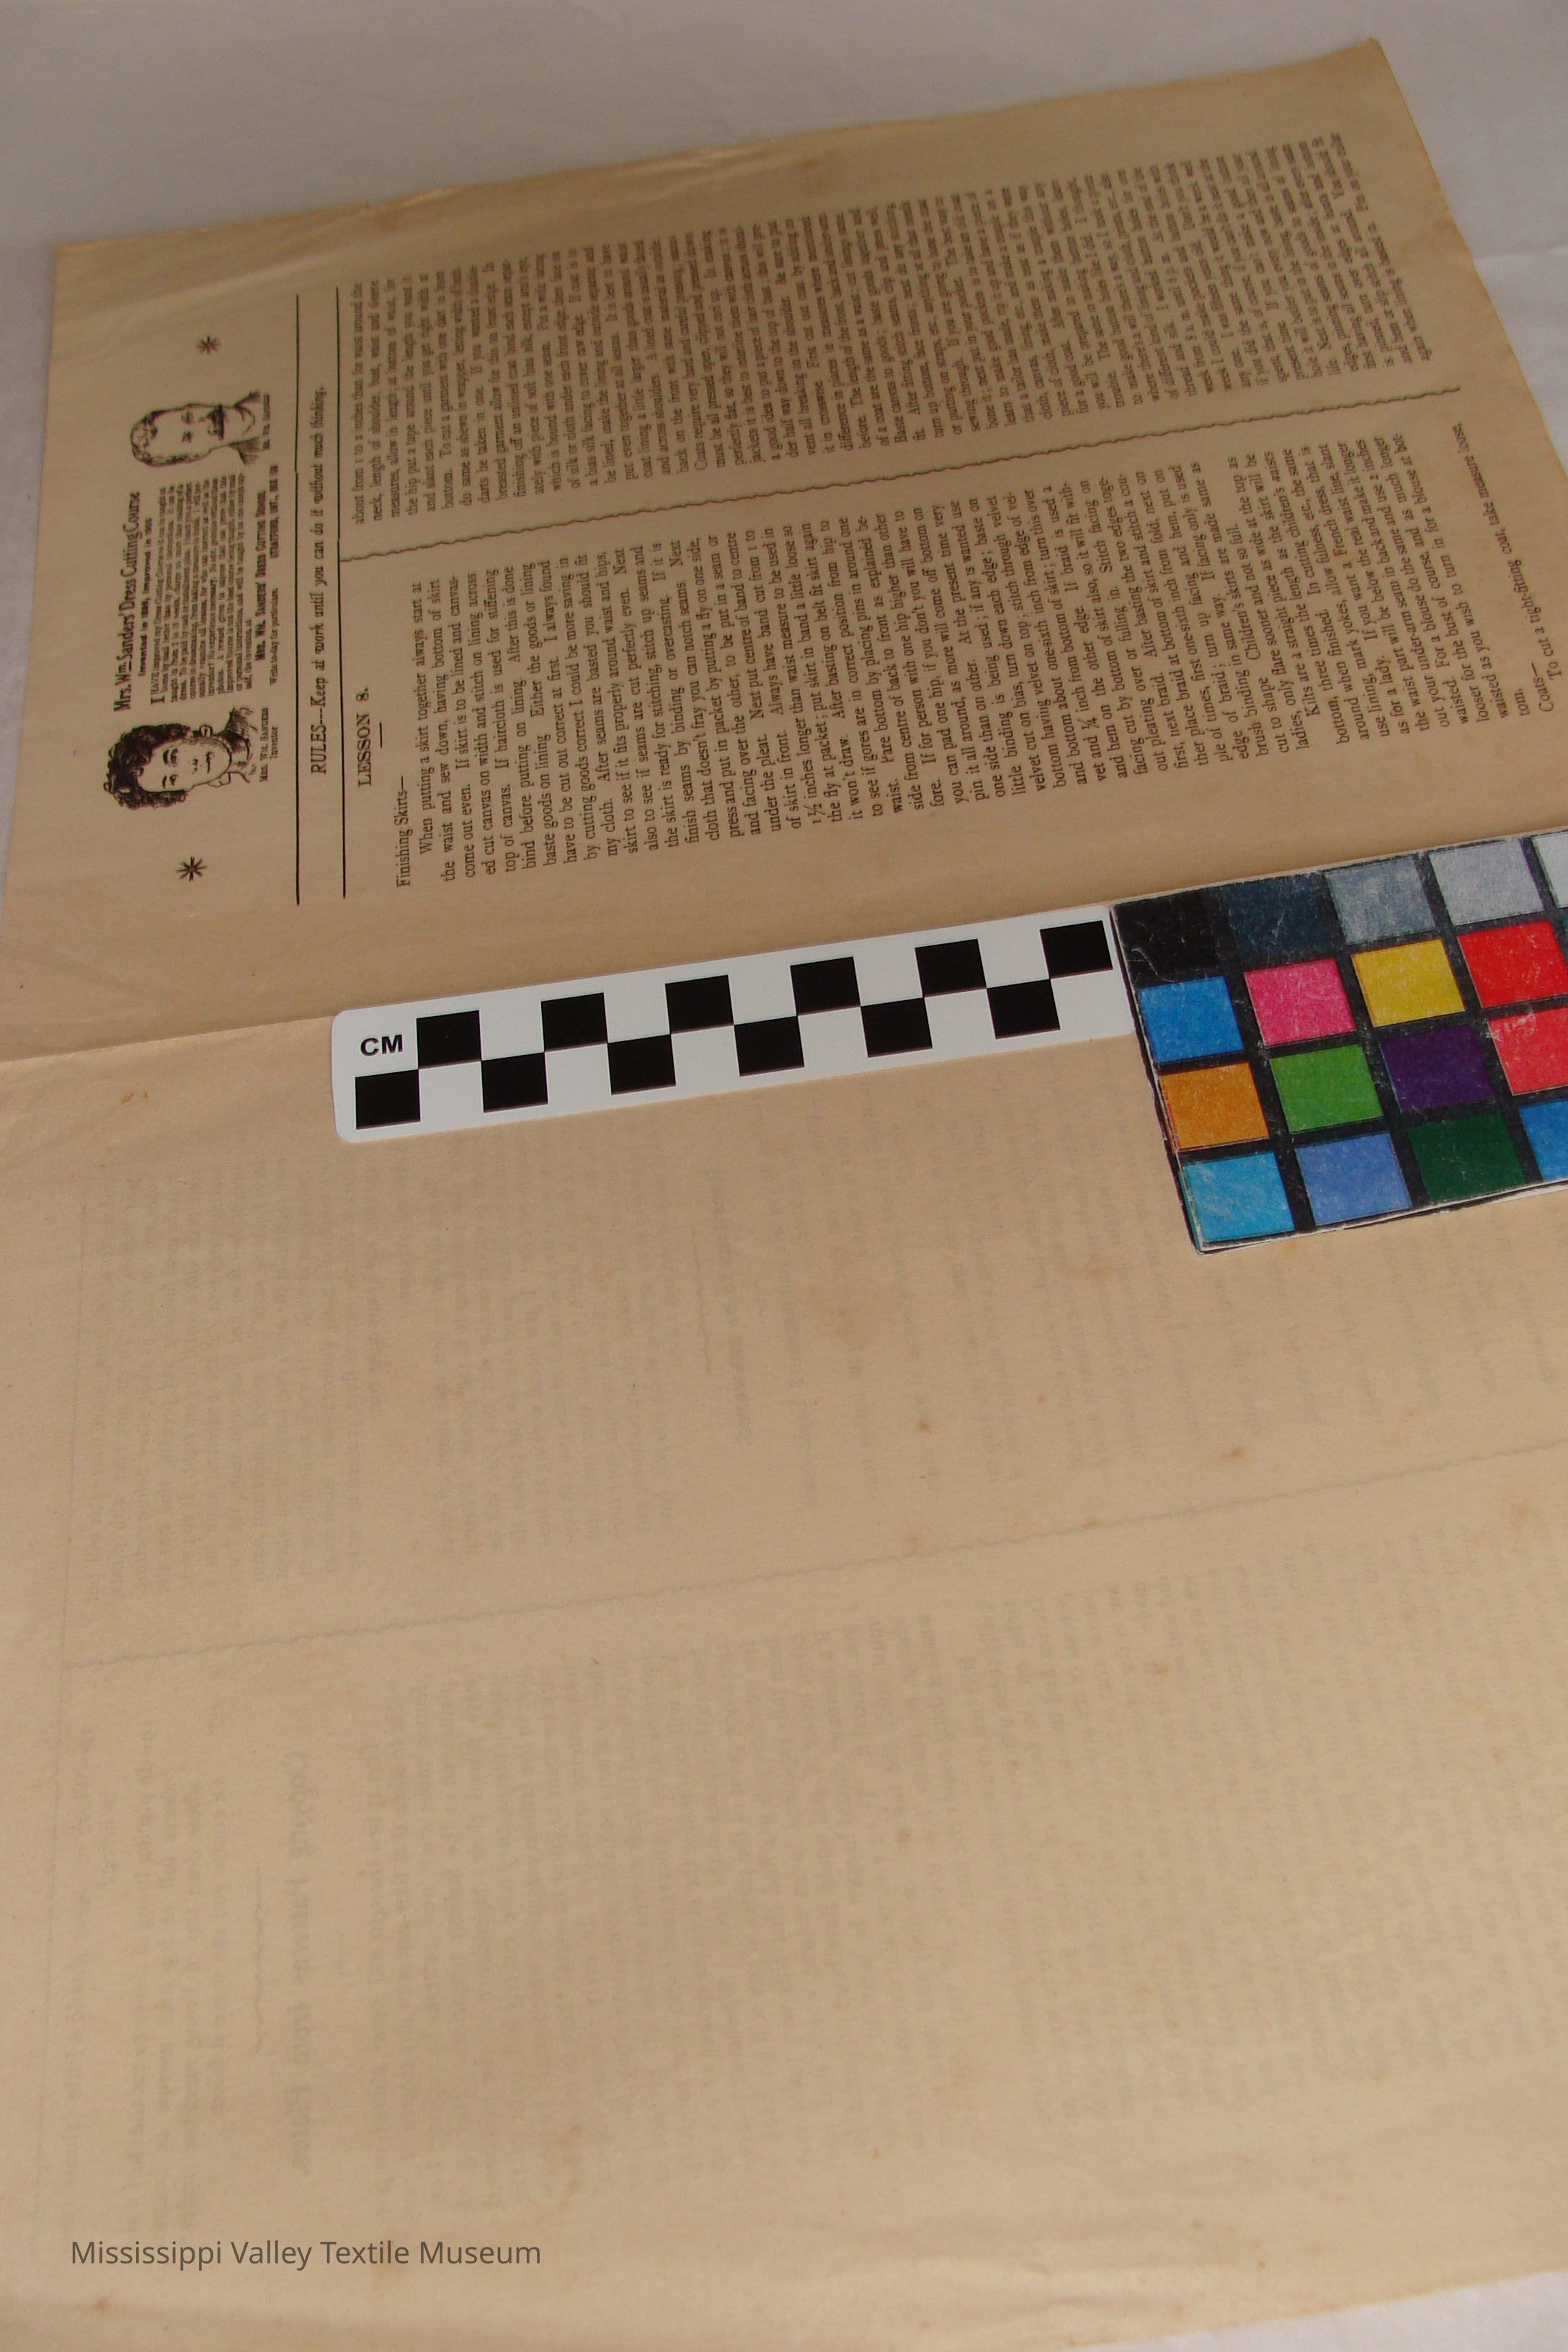
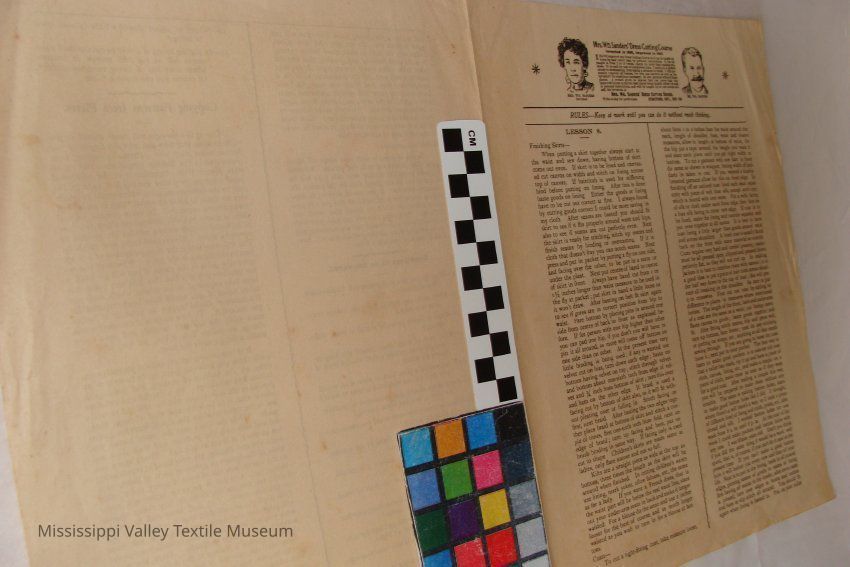
Mrs. WM Sanders' Dress Cutting Course
Invented in 1899, Improved in 1905
I
HAVE Improved my Dress Cutting Course so it can be taught at home by mall better than by personal Instructions, It can be taught In from 2 to 10 weeks, charge no more than making of a dress. To be paid by cash Or installment plan. I teach you a perfect course in dressmaking, from taking a measure to finish. I will personally examine all lessons, for who can Instruct as well as the inventor? No experience necessary. No adv. genuine without these photos. A reward given to anyone that can prove that this improved course is not the best course being taught, either by mail or personal Instructions, and will be taught by no one except myself, the Invented at
MRS. WM. SANDERS* DRESS CUTTING SCHOOL
Write to-day for particulars. STRATFORD, ONT., BOX (65)
RULES-Keep at owork until you can do it without much thinking.
LESSON 8.
Finishing Skirts-
When putting a skirt together always start at the waist and sew down, having bottom of skirt come out even. If skirt is to be lined and canvas- ed cut canvas on width and stitch on lining across top of canvas. If haircloth is used for stiffening bind before putting on lining. After this is done baste goods on lining Either the goods or lining have to be cut out correct at first. I always found by cutting goods correct I could be more saving in my cloth. After seams are basted you should fit skirt to see if it fits properly around waist and hips, also to see if seams are cut perfectly even. Next the skirt is ready for stitching, stitch up seams and finish seams by binding or overcasting. If it is cloth that doesn't fray you can notch seams. Next press and put in packet by putting a fly on one side, and facing over the other, to be put in a seam or under the pleat. Next put centre of band to centre of skirt in front. Always have band cut from i to inches longer than waist measure to be used in the fly at packet; put skirt in band a little loose so it won't draw. After basting on belt fit skirt again to see if gores are in correct position from hip to waist. Pare bottom by placing pins in around one side from centre of back to front as explained before. If for person with one hip higher than other you can pad one hip, if you don't you will have to pin it all around, as more will come off bottom on one side than on other. At the present time very little binding is being used ; if any is wanted use velvet cut on bias, turn down each edge ; baste on bottom having velvet on top; stitch through velvet and bottom about one-sixth inch from edge of velvet and % inch from bottom of skirt; turn this over and hem on the other edge. If braid is used a facing cut by bottom of skirt also, so it will fit without pleating over or fulling in. Stitch facing on first, next braid. After basting the two edges together place braid at bottom of skirt and stitch a couple of times, first one-sixth inch from fold, next on edge of braid; turn up facing and hem, put on brush binding in same way. If facing only is used cut to shape Children's skirts are made same as ladies, only flare sooner and not so full.
Kilts are a straight piece as wide at the top as bottom, three times the length as the skirt will be around when finished. In cutting children's waists use lining, mark yokes, allow fulness, etc., the same as for a lady, If you want a French dress, that is the waist part will be below the real waist line, slant out your under-arm seam in back and make it longer waisted. For a blouse do the same and use 2 inches looser for the bust of course, and as much longer waisted as you wish to turn in for a blouse at bottom.
Coats-
To cut a tight-fitting coat, take measure loose, about from 1 to 2 inches than for waist around the neck, length of shoulder, bust, waist and sleeve measures, allow in length; at bottom of waist, for the hip put a tape around the length you want it and slant each piece until you get right width at bottom. To cut a garment with one dart in front do same as shewn in wrapper, letting width of both darts be taken in one. If you wanted a double- breasted garment allow for this on front edge. In finishing off an unlined coat bind each seam separ-ately with piece of soft bias silk, except arm's eye, which is bound with one seam. Put a wide facing of silk or cloth under each front edge, then face on a bias silk facing to cover raw edge. If coat is to be lined, make the lining and outside separate and put even together at all seams. It is best to have coat lining a little larger than goods around waist and across shoulders. A lined coat is usually faced back on the front with same material as outside. Coats require very hard and careful pressing ; seams must be all pressed open, clipped and pressed down perfectly flat, so they will not curl up. In making jackets it is best to interline them with canvas ; it is a good idea to put a piece of hair cloth across shoulder half way down to the top of bust; this will prevent all breaking on the shoulder. Be sure to put it in crosswise. First cut out coat by adding on difference in places in measures where mentioned before. The length of the front, back and under-arm of a coat are the same as a waist; cut linings same. Baste canvas to goods ; baste goods together and fit. After fitting stitch seams, clip and press well, turn up bottom, face fronts ; next do any stitching or putting on straps, etc., anything at all that needs sewing through. If you are going to bone the coat bone it; next put in your pocket. The best way to learn to make good pockets is to take an old coat that a tailor has made, rip it up and have a piece of cloth, canvas, lining, etc., and make a couple on a piece of cloth, make them as neat as if they were for a good coat. After making a couple this way you will be prepared to make them without any trouble. The same in making button holes, learn to make good button holes like I did. I thought, where there's a will there's a way, so I took a piece of different kind of lining and cloth, prints, etc., also thread and silk. I worked button holes for one week from 8 a. m. until 6 p. m. At the end of the week I could make pockets and button holes with any one. I was fifteen years old. Don't you think if you did the same thing it would be a week well spent, that is, of course, if you can't do it neat at the present time. If you can't make a good button hole it will bother you every now and then all your life. Next is to put in the lining, baste in all around edges, pinning seams of goods to seams of lining first having all seams in the inside ; after every seam is pinned, turn over edges at fronts and bottom and hem or slip stitch all around. You should fit again when lining is basted in. Pin on your collar
and sleeves at this fitting, mark where you will put your buttons, etc. To cut any coat with pleats, yokes, etc., do same as waist, allow before cutting. It is the good finishing and pressing that has the most to do with a coat if it is cut right. If you were making a sack coat, cut the under-arm seam on a straight slant from first under-arm seam, for back leave rounding seam and second under-arm seam even together at the arm's eye, having them about 2 inches apart at waist This will make fulness in back instead of it going under the arm Slant seam in back at side the same as front, proceed to make in the same way as any other coat.
Yokes and Beplems-
To cut all yokes in skirt take shape off seven gored skirt pattern cut to fit the person. When it is placed to cut the circular skirt this yoke will be alright to put on any gored skirt for the person the measures were for. If you intend working at dress making one of the most useful articles you can possess is a form on which to drape your waist and skirts, etc. By having this you can take your time to do such work and not feel you are bothering any one by keeping them standing which you will have to do if you don't possess a form.
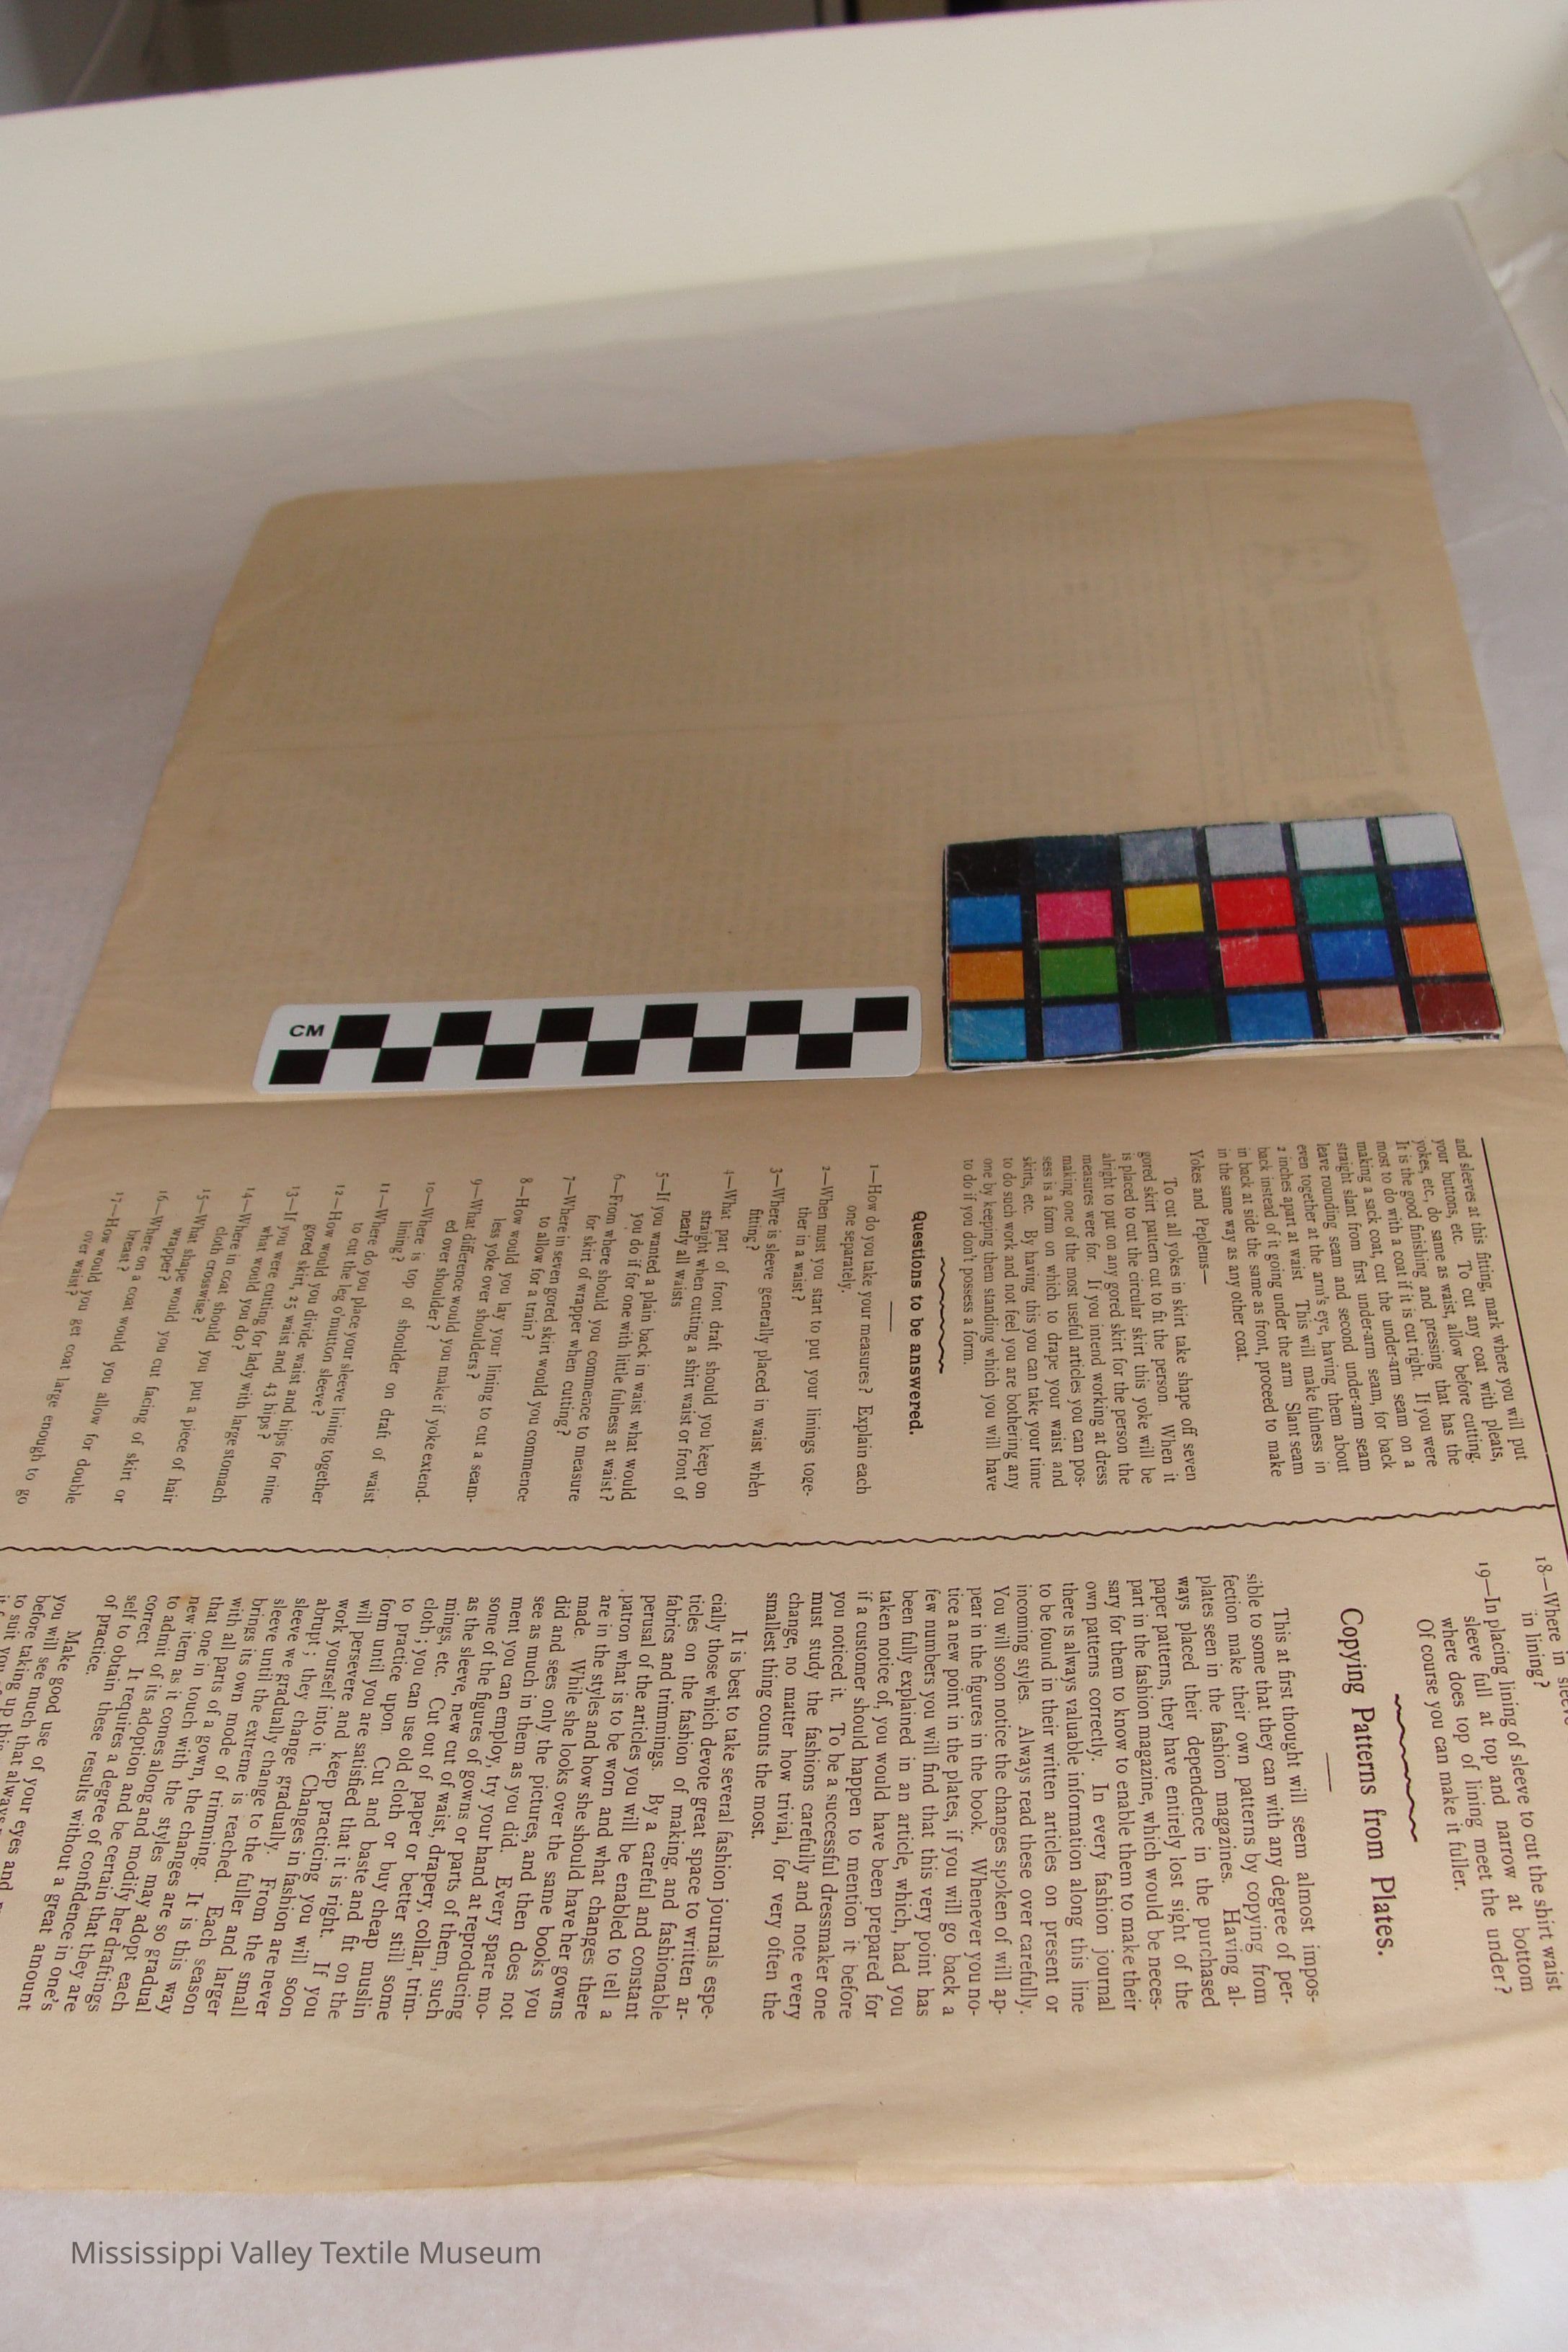
Questions to be answered.
r-How do you take your measures? Explain each one separately.
2-When must you start to put your linings together in a waist ?
3-Where is sleeve generally placed in waist wh6n fitting ?
4-What part of front draft should you keep on straight when cutting a shirt waist or front of nearly all waists
5-If you wanted a plain back in waist what would you do if for one with little fulness at waist?
6-From where should you commence to measure for skirt of wrapper when cutting?
7-Where in seven gored skirt would you commence to allow for a train ?
8-How would you lay your lining to cut a seamless yoke over shoulders ?
9-What difference would you make if yoke extended over shoulder ?
1O-Where is top of shoulder on draft of waist lining ?
II-Where do you place your sleeve lining together to cut the leg o'mutton sleeve ?
i2 - How would you divide waist and hips for nine gored skirt, 25 waist and 43 hips ?
13-If you were cutting for lady with large stomach what would you do ?
14-Where in coat should you put a piece of hair cloth crosswise ?
15-What shape would you cut facing of skirt or wrapper ?
16-Where on a coat would you allow for double breast ?
>7-How would you get coat large enough to go over waist ?
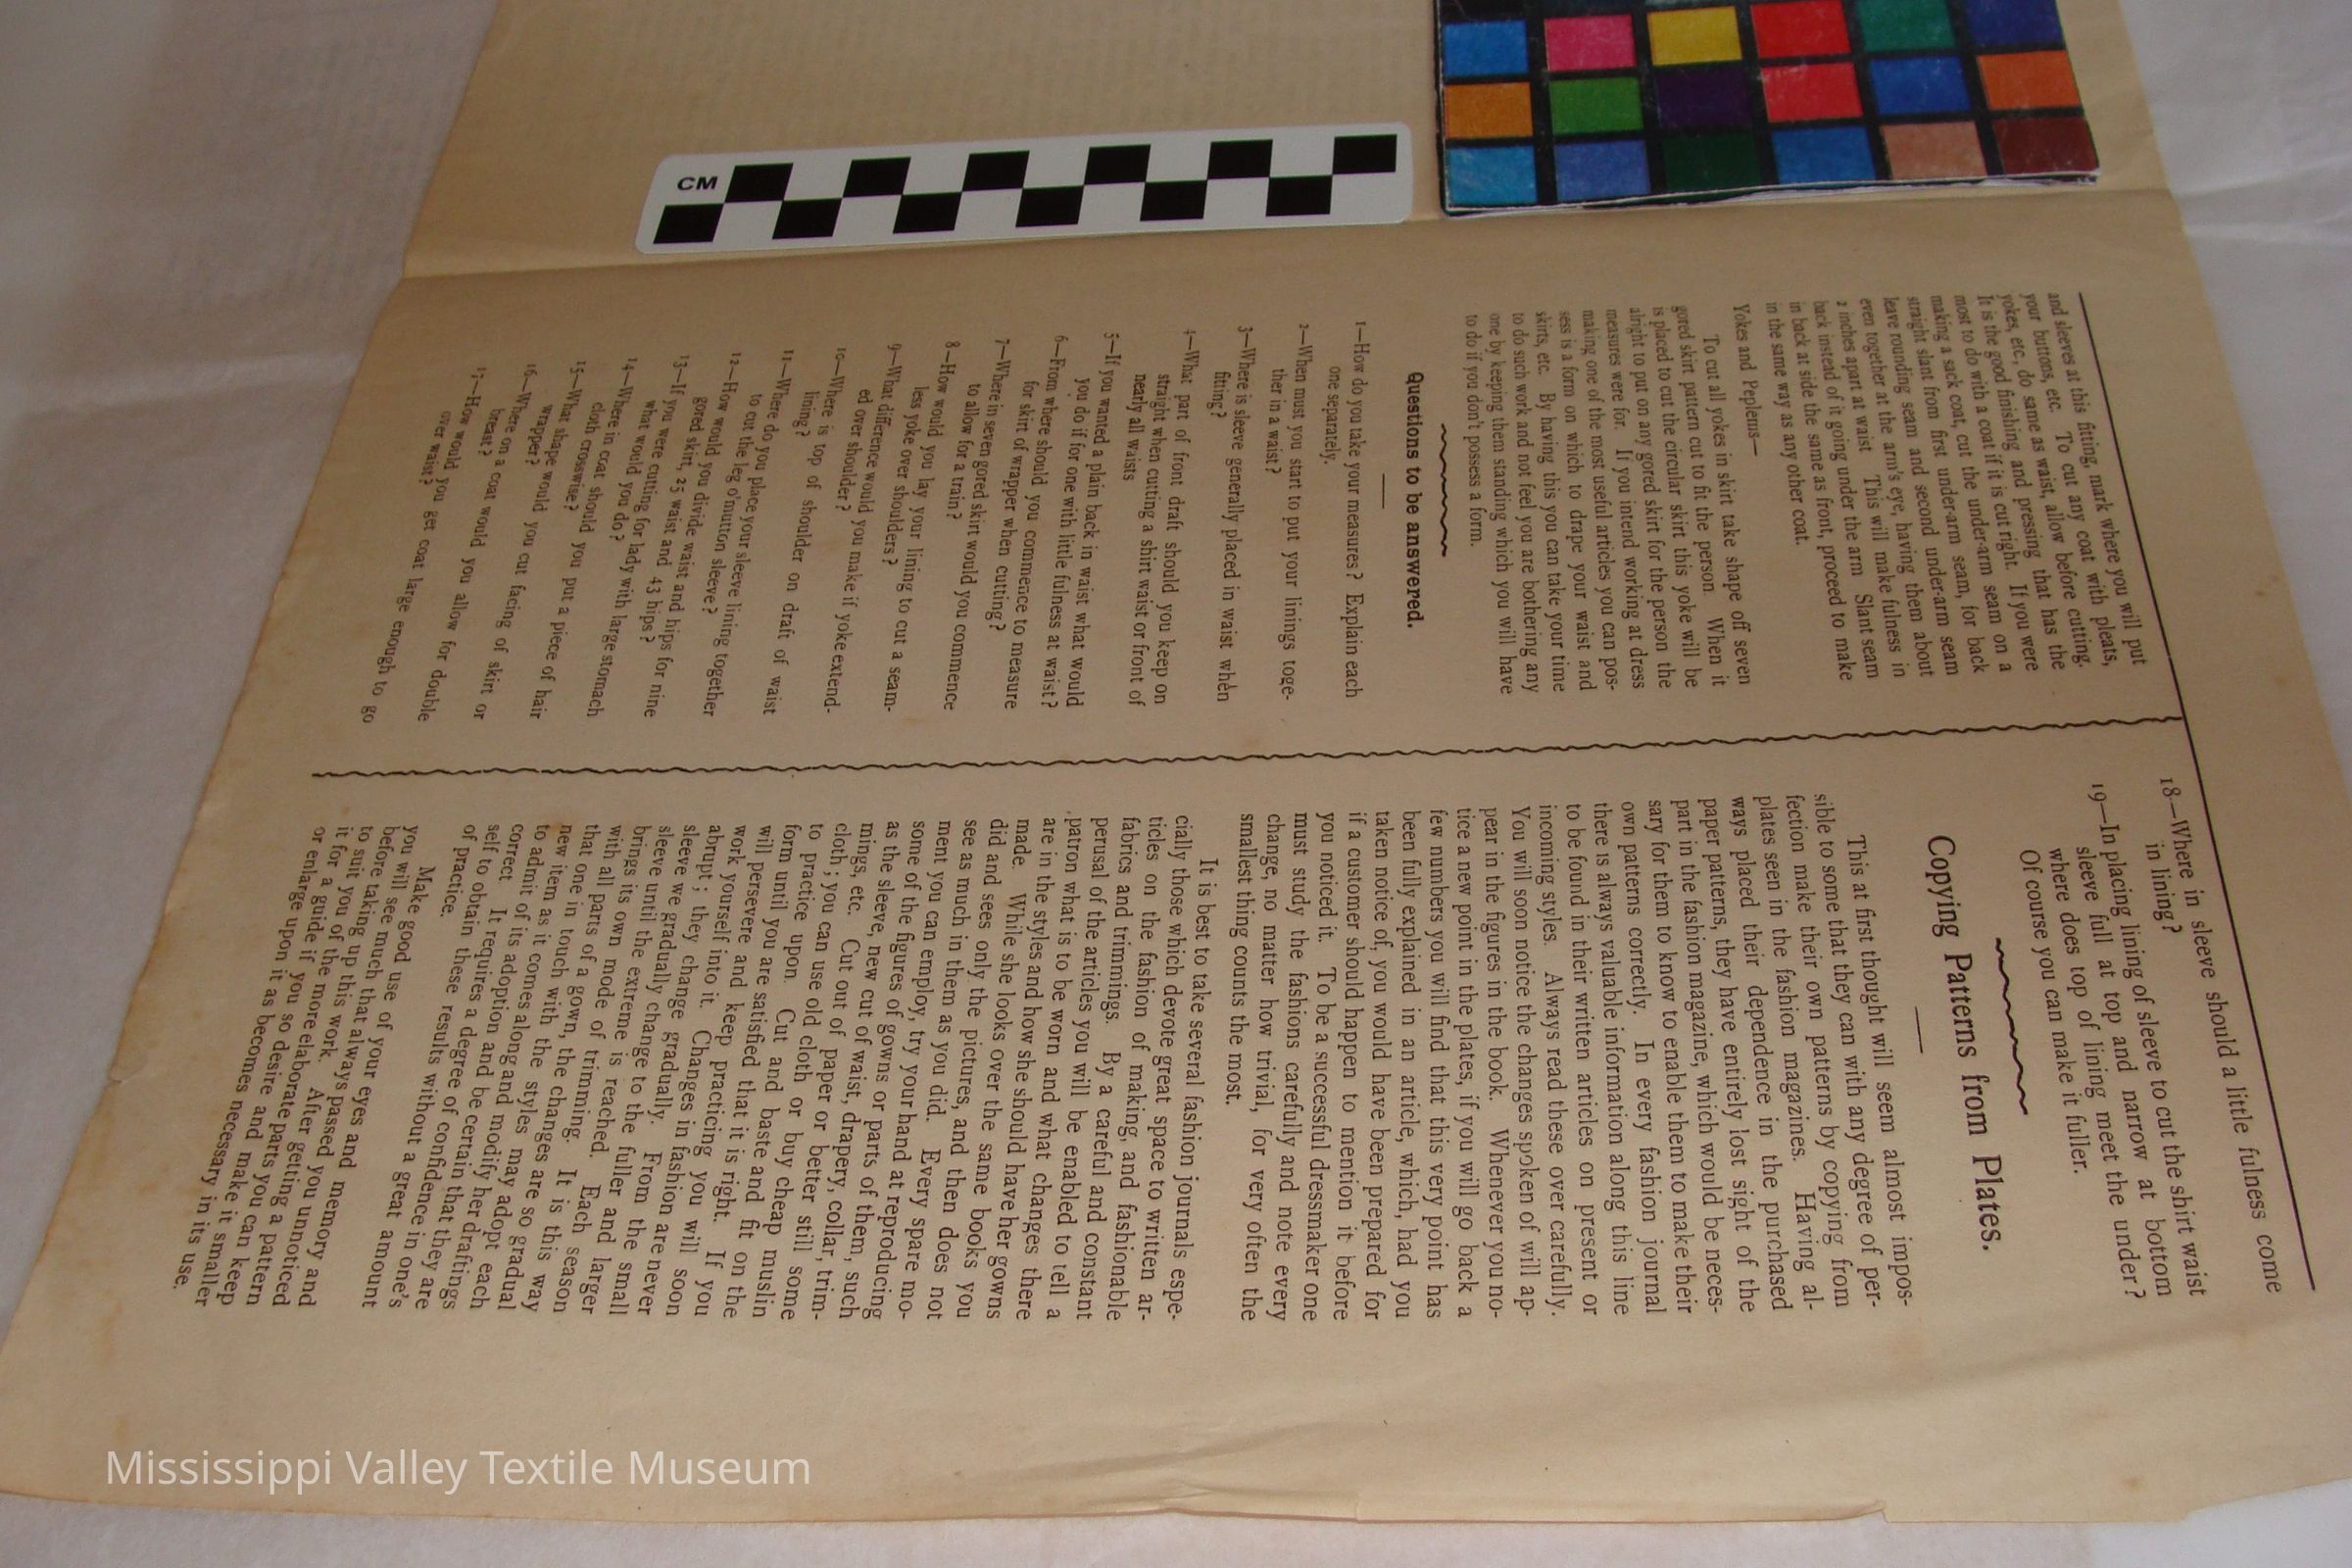
18-Where in sleeve should a little fulness come in lining?
19-In placing lining of sleeve to cut the shirt waist sleeve full at top and narrow at bottom where does top of lining meet the under? Of course you can make it fuller.
Copying Patterns from Plates.
This at first thought will seem almost impossible to some that they can with any degree of perfection make their own patterns by copying from plates seen in the fashion magazines. Having always placed their dependence in the purchased paper patterns, they have entirely lost sight of the part in the fashion magazine, which would be necessary for them to know to enable them to make their own patterns correctly. In every fashion journal there is always valuable information along this line to be found in their written articles on present or incoming styles. Always read these over carefully. You will soon notice the changes spoken of will appear in the figures in the book. Whenever you notice a new point in the plates, if you will go back a few numbers you will find that this very point has been fully explained in an article, which, had you taken notice of, you would have been prepared for if a customer should happen to mention it before you noticed it. To be a successful dressmaker one must study the fashions carefully and note every change, no matter how trivial, for very often the smallest thing counts the most.
It is best to take several fashion journals especially those which devote great space to written articles on the fashion of making, and fashionable fabrics and trimmings. By a careful and constant perusal of the articles you will be enabled to tell a .patron what is to be worn and what changes there are in the styles and how she should have her gowns made. While she looks over the same books you did and sees only the pictures, and then does not see as much in them as you did. Every spare moment you can employ, try your hand at reproducing some of the figures of gowns or parts of them, such as the sleeve, new cut of waist, drapery, collar, trimmings, etc. Cut out of paper or better still some cloth; you can use old cloth or buy cheap muslin to practice upon. Cut and baste and fit on the form until you are satisfied that it is right. If you will persevere and keep practicing you will soon work yourself into it. Changes in fashion are never abrupt; they change gradually. From the small sleeve we gradually change to the fuller and larger sleeve until the extreme is reached. Each season brings its own mode of trimming. It is this way with all parts of a gown, the changes are so gradual that one in touch with the styles may adopt each new item as it comes along and modify her draftings to admit of its adoption and be certain that they are correct It requires a degree of confidence in one's self to obtain these results without a great amount of practice.
Make good use of your eyes and memory and you will see much that always passed you unnoticed before taking up this work. After getting a pattern to suit you of the more elaborate parts you can keep it for a guide if you so desire and make it smaller or enlarge upon it as becomes necessary in its use.
[end]Collection
Patterns CollectionCataloged By
Whit, ElizabethLexicon
LOC Thesaurus for Graphic Materials
Pattern booksLegacy Lexicon
Object Name
Papers, PersonalLocation
Location
Container
Box 5Shelf
Shelf 19Room
Collections RoomBuilding
M.V.T.M.Category
PermanentDate
November 7, 2023Location
Container
Box 2Shelf
Shelf 7, Shelf 7Room
Collections RoomBuilding
M.V.T.M.Category
PermanentMoved By
Whit, ElizabethDate
August 24, 2017Location
Container
Box 5Shelf
Shelf 19, Shelf 19Room
Collections RoomBuilding
M.V.T.M.Category
PermanentMoved By
Whit, ElizabethDate
August 24, 2017Location
Container
Box 2Shelf
Shelf 12, Shelf 12Room
Collections RoomBuilding
M.V.T.M.Category
PermanentMoved By
Whit, ElizabethDate
July 28, 2016General Notes
Note
Status: OK
Status By: Cotter, Ellen
Status Date: 2022-02-08Created By
admin@catalogit.appCreate Date
July 28, 2016Updated By
admin@catalogit.appUpdate Date
November 12, 2023