Name/Title
Mrs Sanders Dress Cutting Course Lesson 7Entry/Object ID
2005.09.01.23Scope and Content
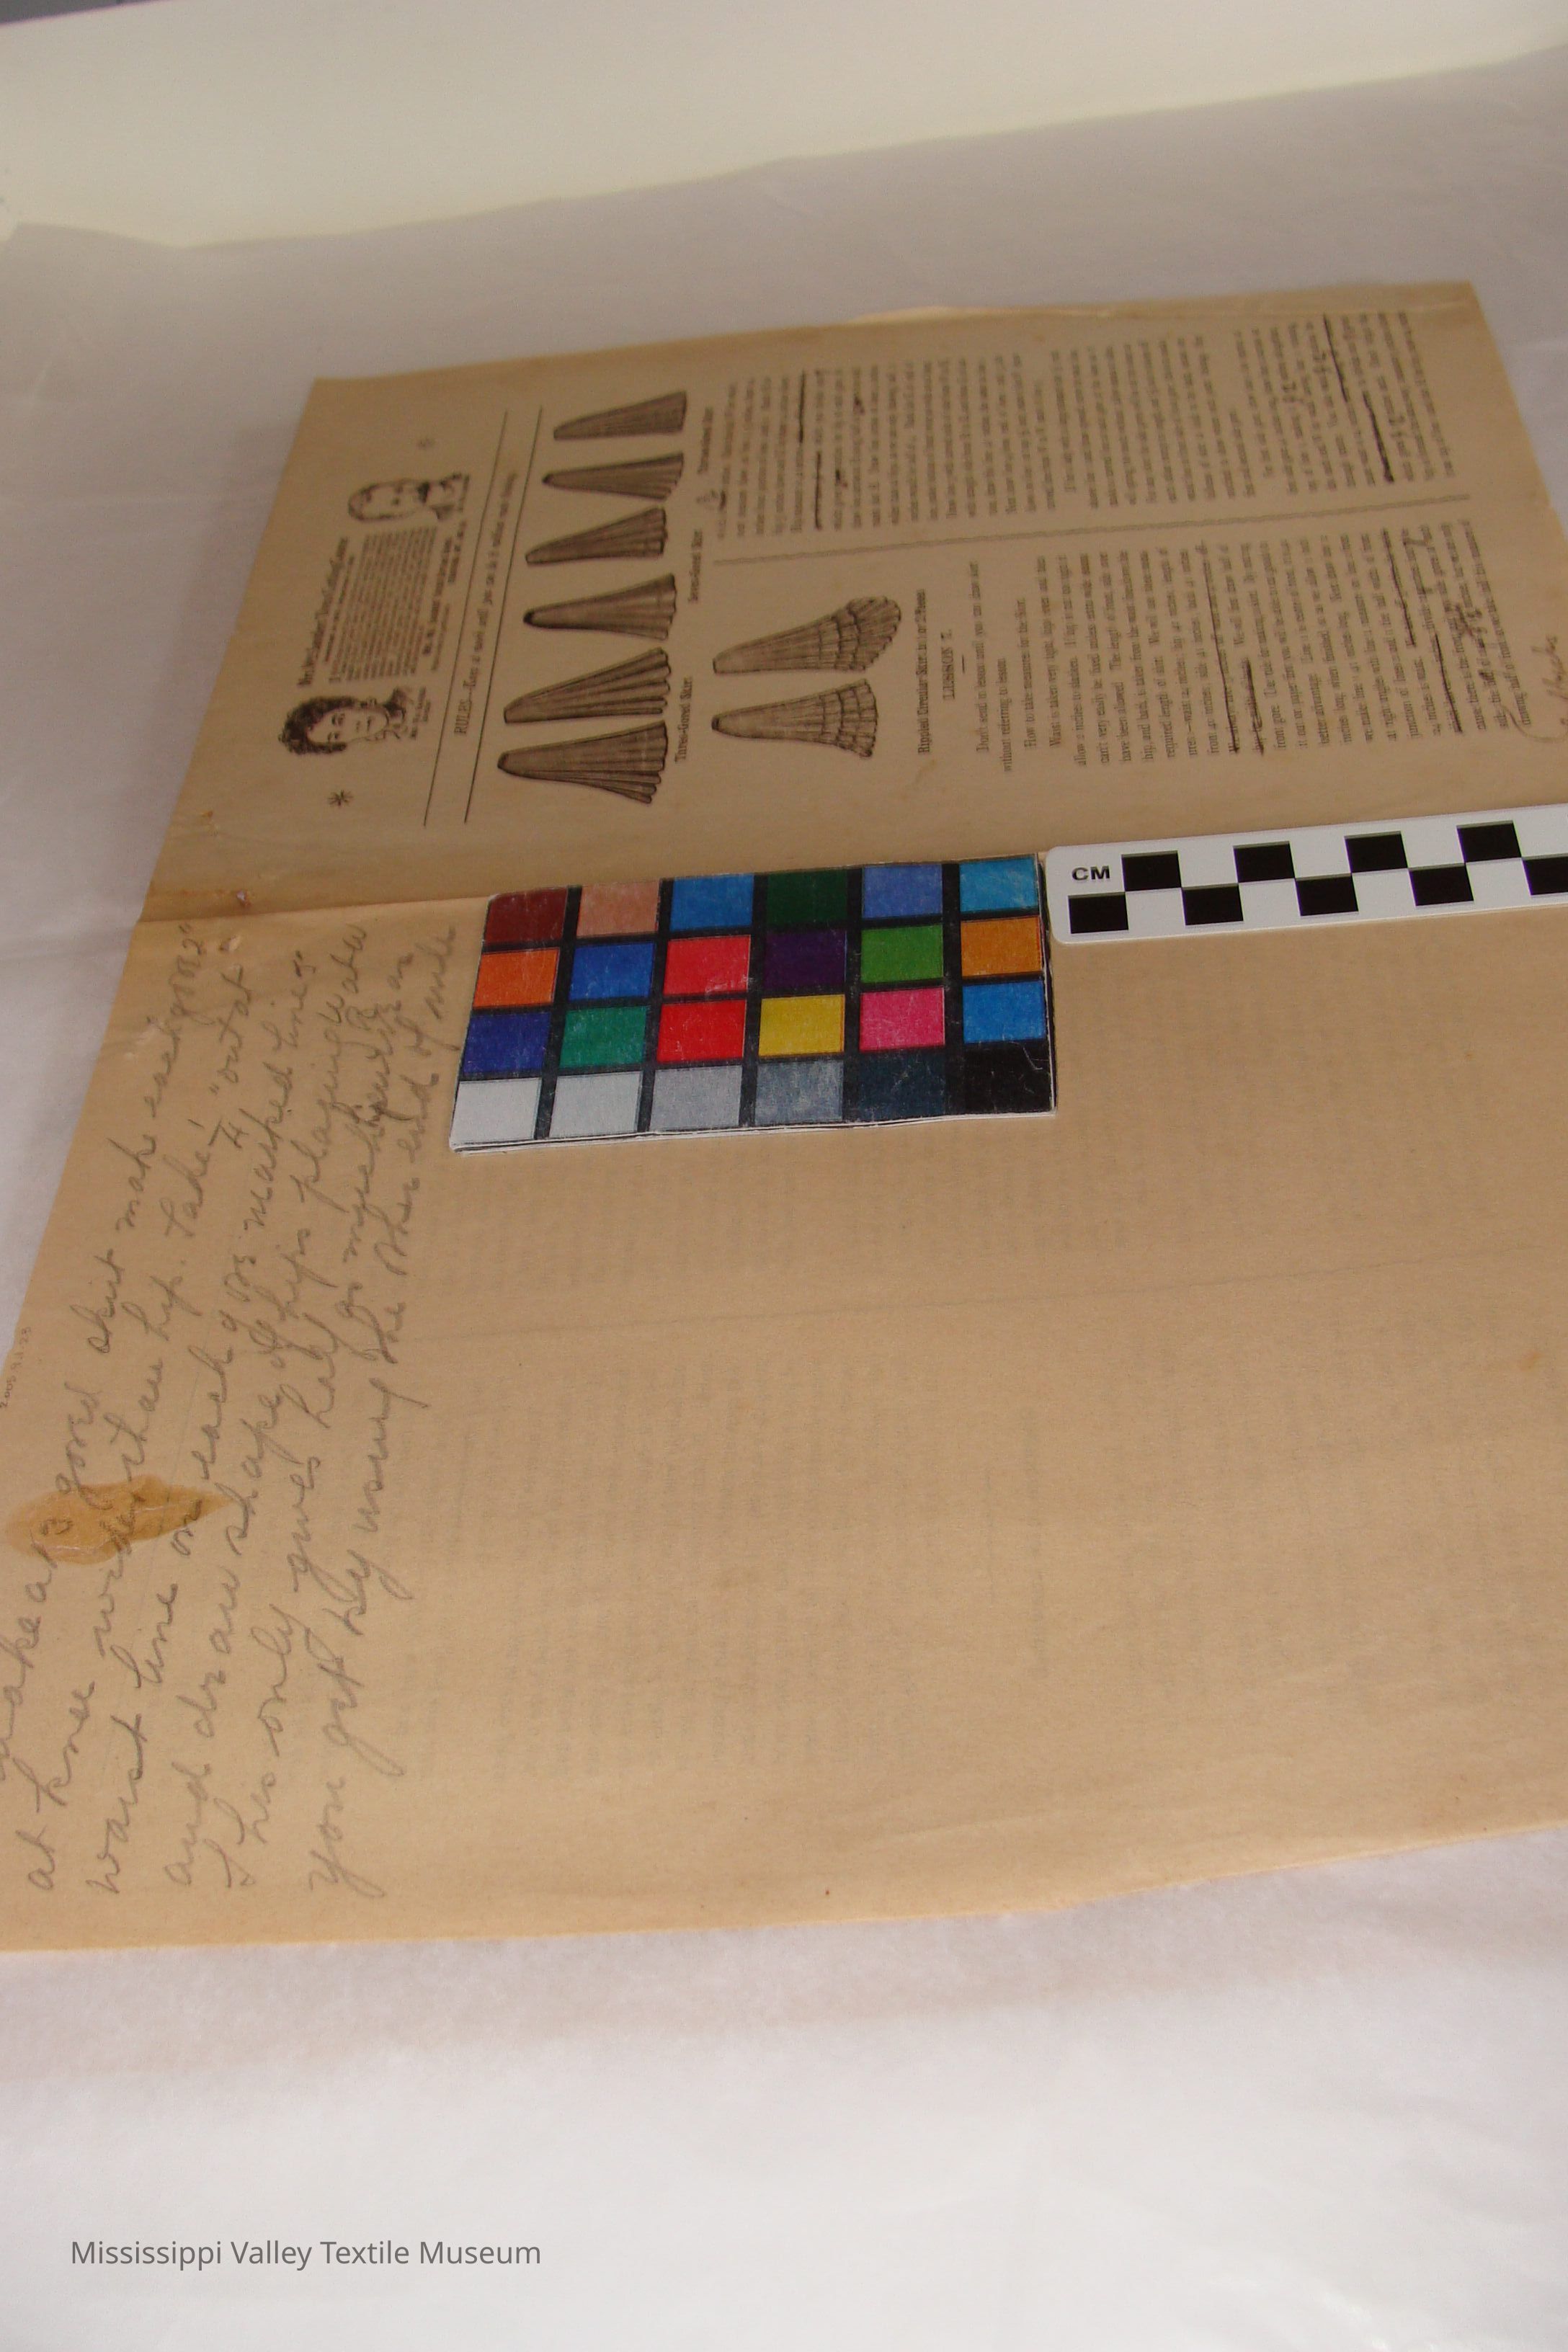
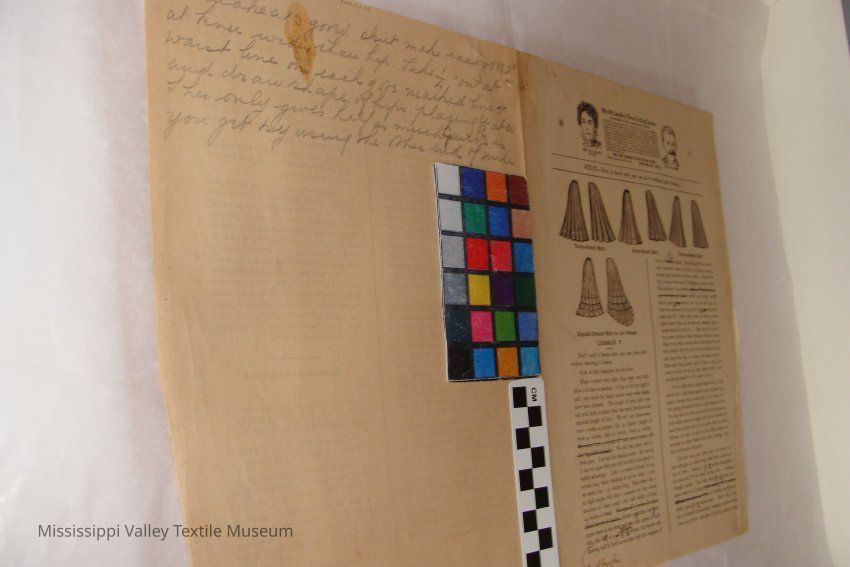
Double page news paper style article. Tow collumns titled Mrs Wm Sanders Dress Cutting Course. This article is lesson #7 there are 8 types of skirts depicted on the front as well as drawn images of Mrs and Mr Wm Sanders. The revers side of the first page has writting in pencil i cannot make out, as well as some crossed out wors on the pages with personal differences written in.
Transcriptions :
Mrs.WMSanders' Dress Cutting Course
Invented In 1899, Improved in 1905
I
HAVE Improved my Dress Cutting Course so it can be taught at home by mail better than by personal instruction. It can be taught In from 2 to 10 weeks, charge no more than making of a dress. To be paid by cash or Installment plan. I teach yon a perfect course in dressmaking, from taking a measure to finish. I will personally examine all lessons, for who can Instruct an wall as the Inventor! No experience necessary. No adv. genuine without these photos. A reward given to anyone that can prove that this improved Course Is not the best one being taught, either by mail or personal Instructions, and will be taught by no one except myself, the Inventor, at
MRS. WM SANDERS' DRESS CUTTING SCHOOL
Write to-day for particulars. STRATFORD, ONT., BOX 169
RULES-Keep at work until you can do it 'without much thinking
LESSON 7.
Don't send in lesson until you can draw skirt without referring to lesson.
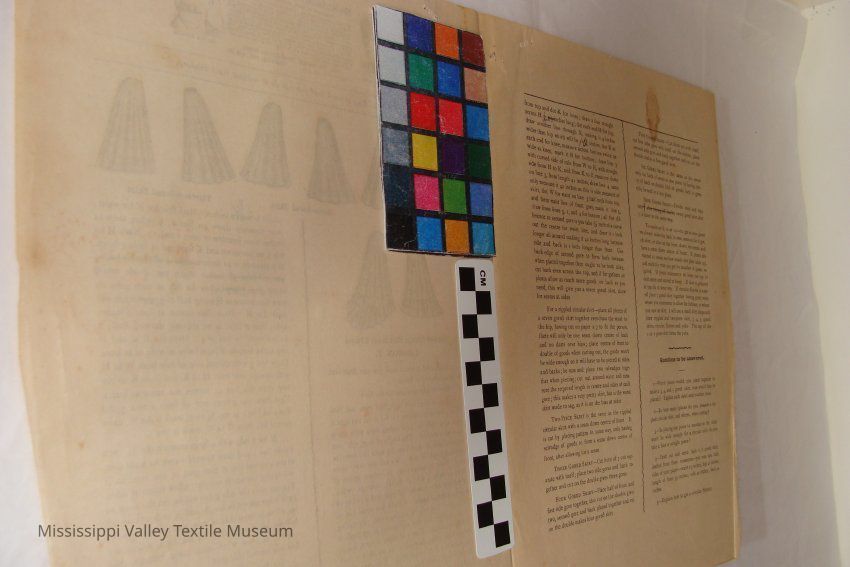
How to take measures for the Skirt.
Waist is taken very tight, hips even and then allow 2 inches to slacken. If hip is cut too tight it can't very easily be fixed unless extra wide seams have been allowed. The length of front, side over hip, and back, is taken from the waist line down the required length of skirt. We will use these measures:-waist 24 inches; hip 42 inches; length of front 40 inches; side 41 inches; back 41 inches. We 'always1 take~°3-inches off waist and 4 inches off hip for width of backs. We will first draw half of front gore. Use rule for making a skirt. By cutting it out on paper first you will be able to cut goods to better advantage. Line 1 is centre of front, it is 40 inches long when finished, so as we allow 1 inch we make line r 41 inches long. Next draw line 2 at right angles with line 1, measure on line 2 from junction of lines 2 and 1 the half width of front. 24 inches is waist. -We take off 3 inches for baeks which leaves 24 inches divide 2 finches into 7 because there is the front side gores at each
side. the fifth of 2 is 3 ½ inches, but we are only drawing half of front so we take half this measure of which is 13/14 inches. Mark this dot W for waist ; next measure down on line 1, 5 inches, then 24 inches from junction of lines 1 and 2. Mark H for hip 5 inches down and K for knee 24 inches down Hip measure is 42 inches- .take 4 off that-for baeks, you will have 38 inches, which you divide into 7 which gives inches for hip at each gore, so draw line across at H using half of inches and mark dot H. Draw line across at knee 4 inches wider than at hips, as we are only drawing half; 2 inches would be half of 4. Mark dot K at end of line, make bottom of front twice as wide as at knee, Draw line 3 with curved side of rule from W to H, with straight side from H to K, and from K to bottom, draw this line 41 inches, the same as line 1. Next draw line 4 from end of lines 1 and 3, dot down on line 1 at top inch, mark it dot W, draw curved line from W to W, mark it line 5.
If for a lady with a large stomach dot 1/2 inch above line r and draw upward curve for waist line, make a curved line at each gore at the knee as it will spring too much without; allow seams at sides. For any skirt the side gores will be cut the same as each other except in length, and inch is taken off waist line in front side of front gore ; this is to make fullness of skirt to hold to the back, seams are notched to show where each piece belongs. (See first and second side gore.)
For first side gore, draw line 1 for centre of first side gore 41 inches long, draw line 2 across at top of line i, making it 3 ½ inches altogether, dot each end W for waist having line 1 running through centre. You take waist 3 ½ inches because waist is 24 inches
After taking off 3 inches for baek you have 21 inches to divide into 7 gores which gives 3 ½ inches each. Don't forget the hip is formed the same way; measure 5 inches down from top of line 1 and dot H for hip; now 24 inches
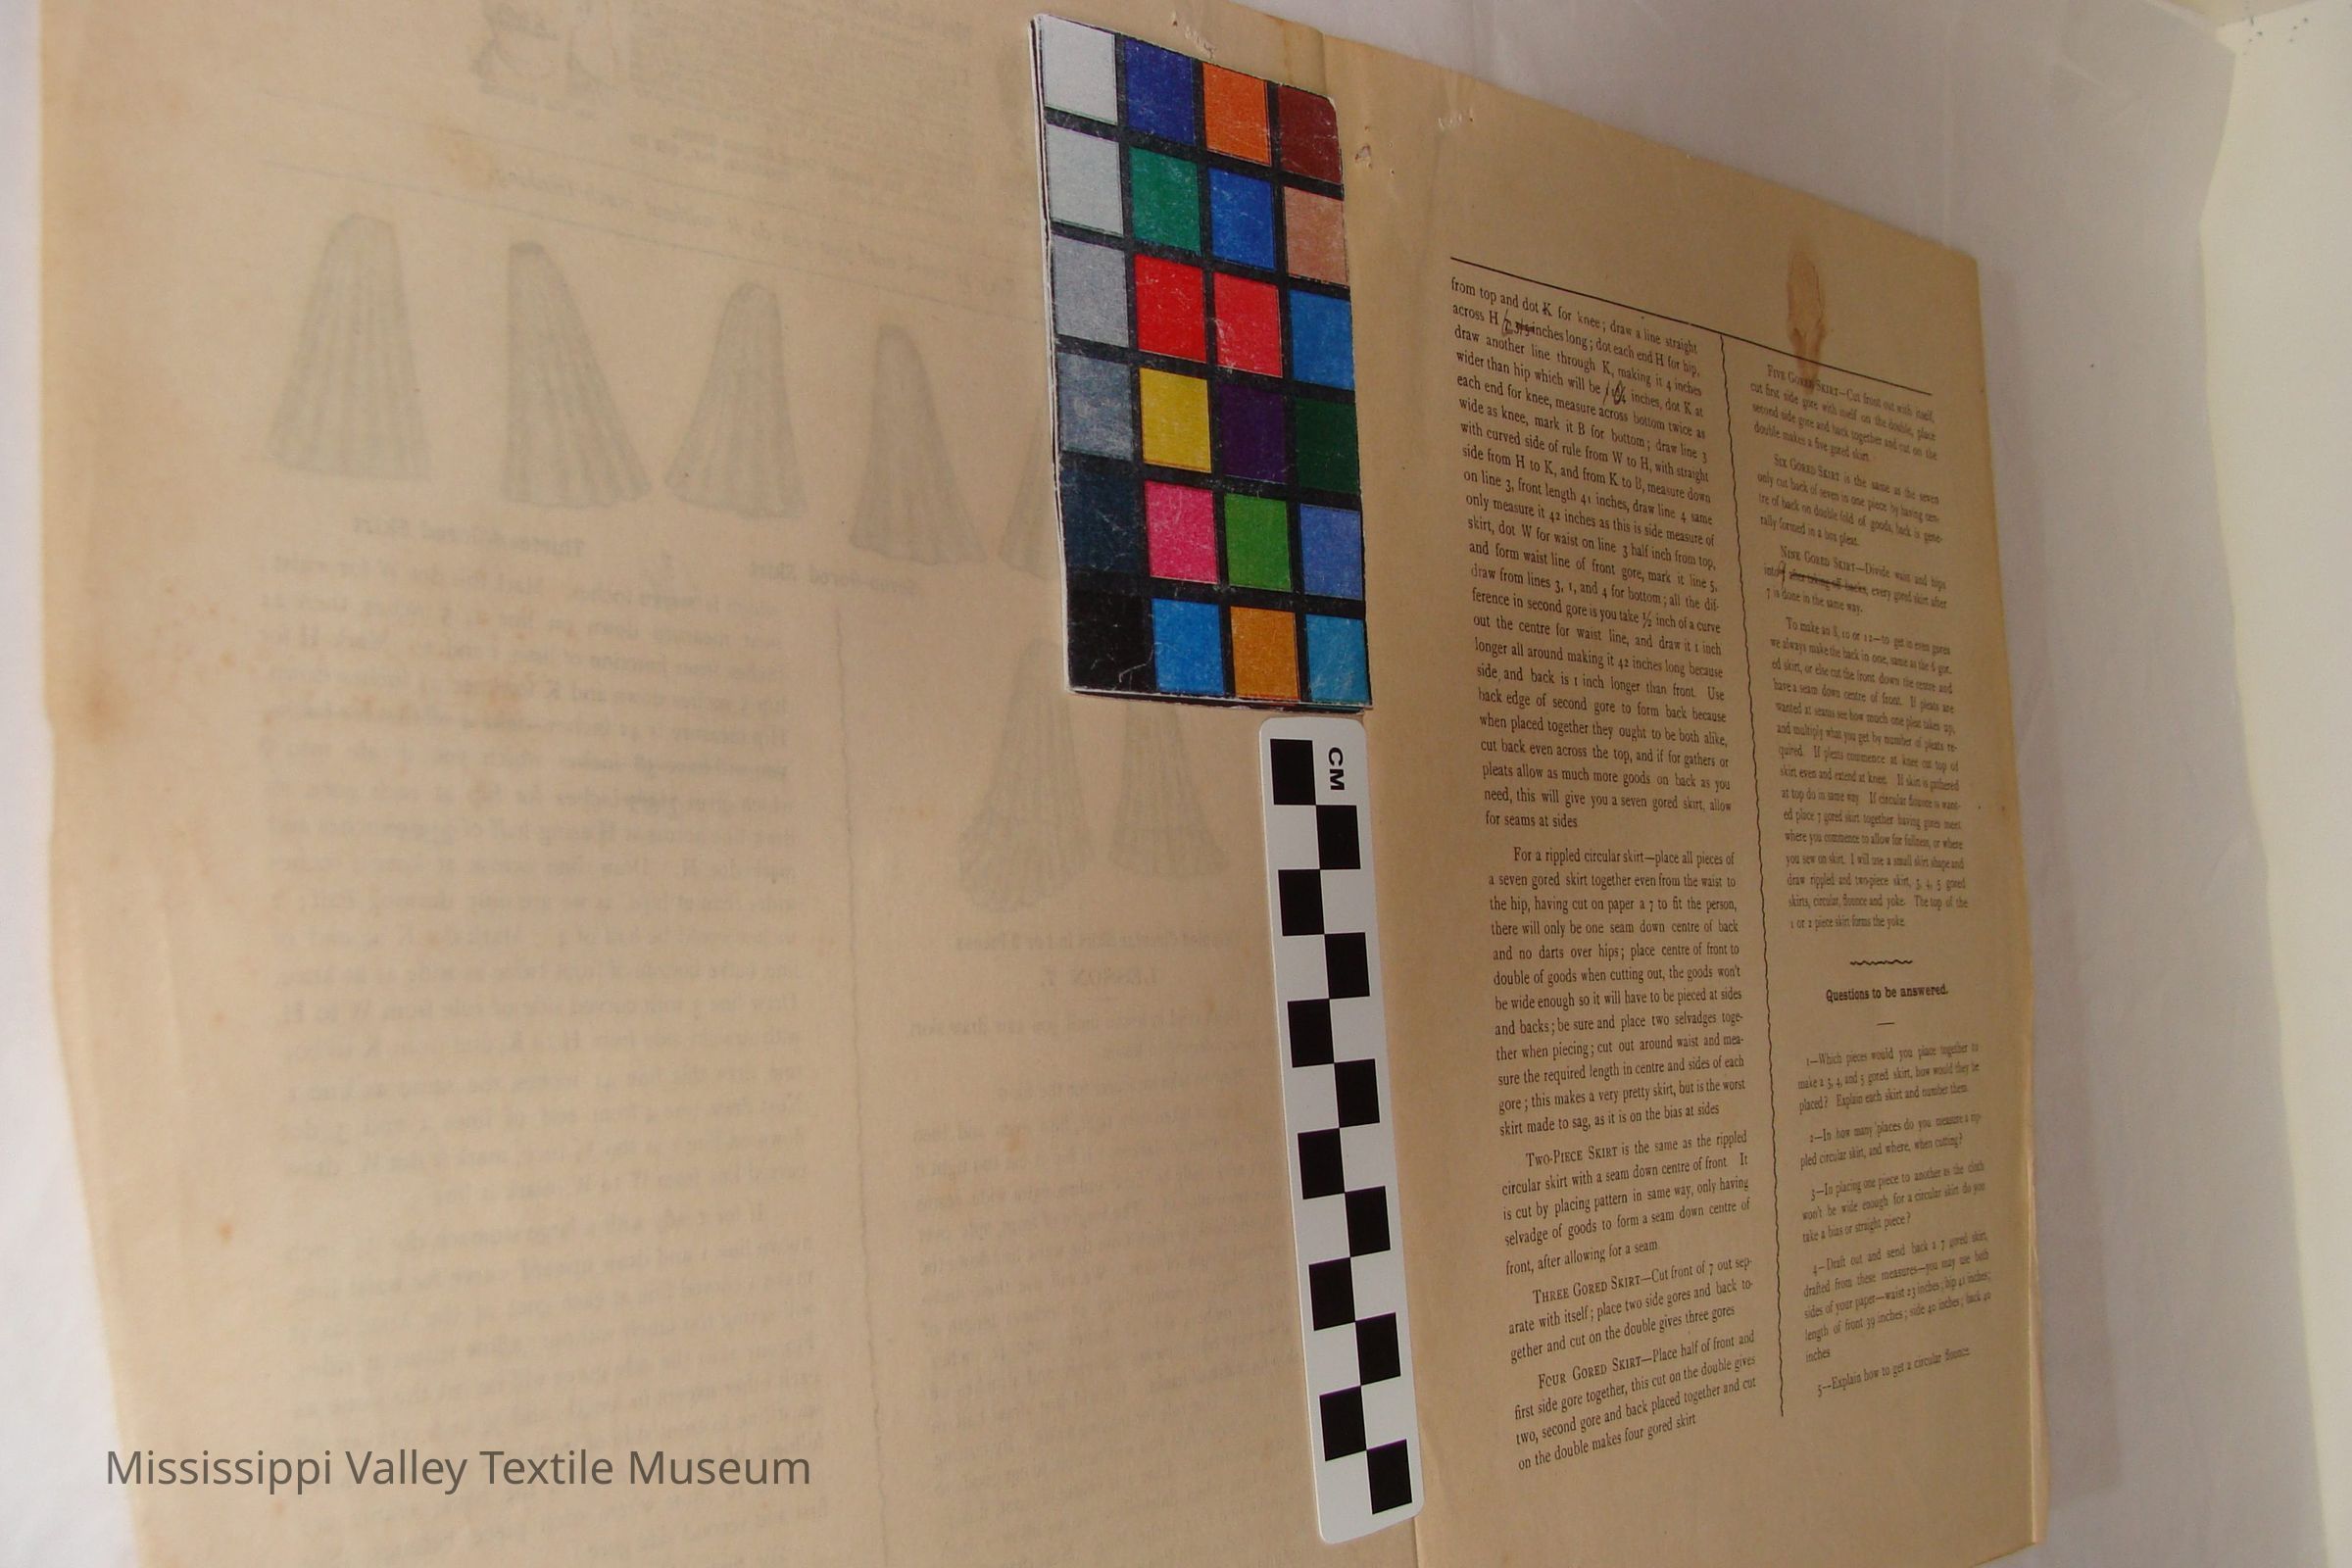
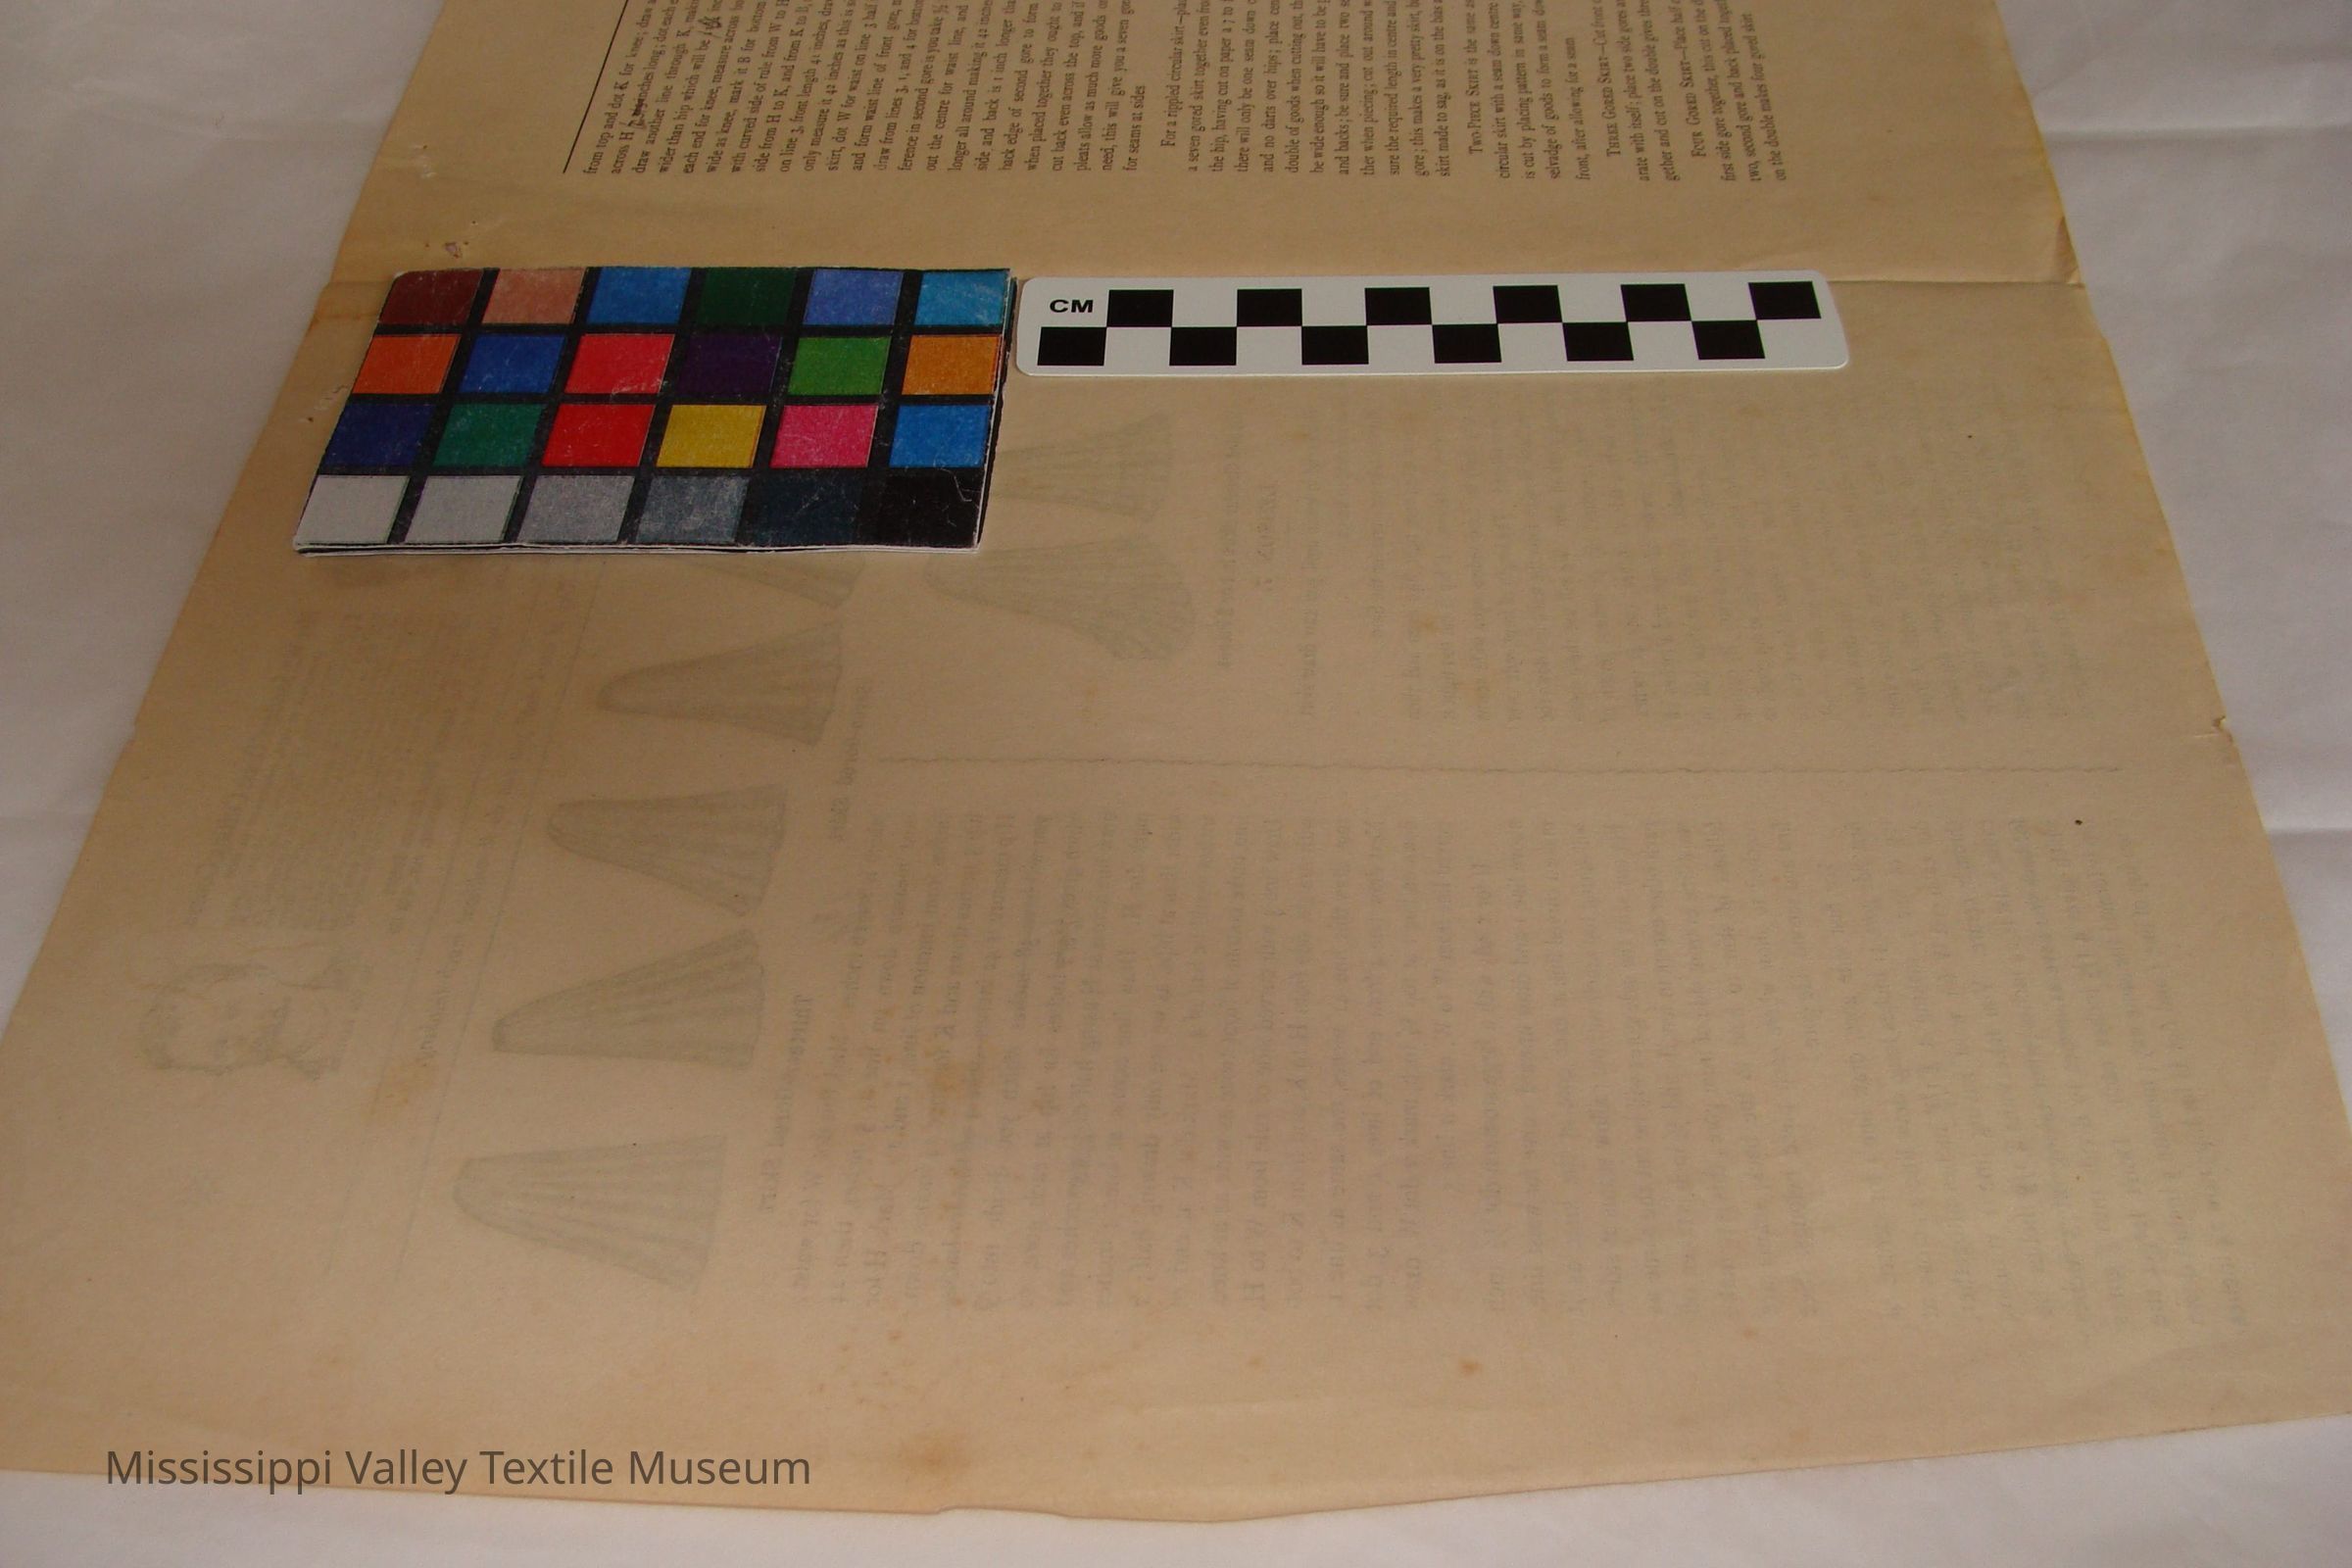
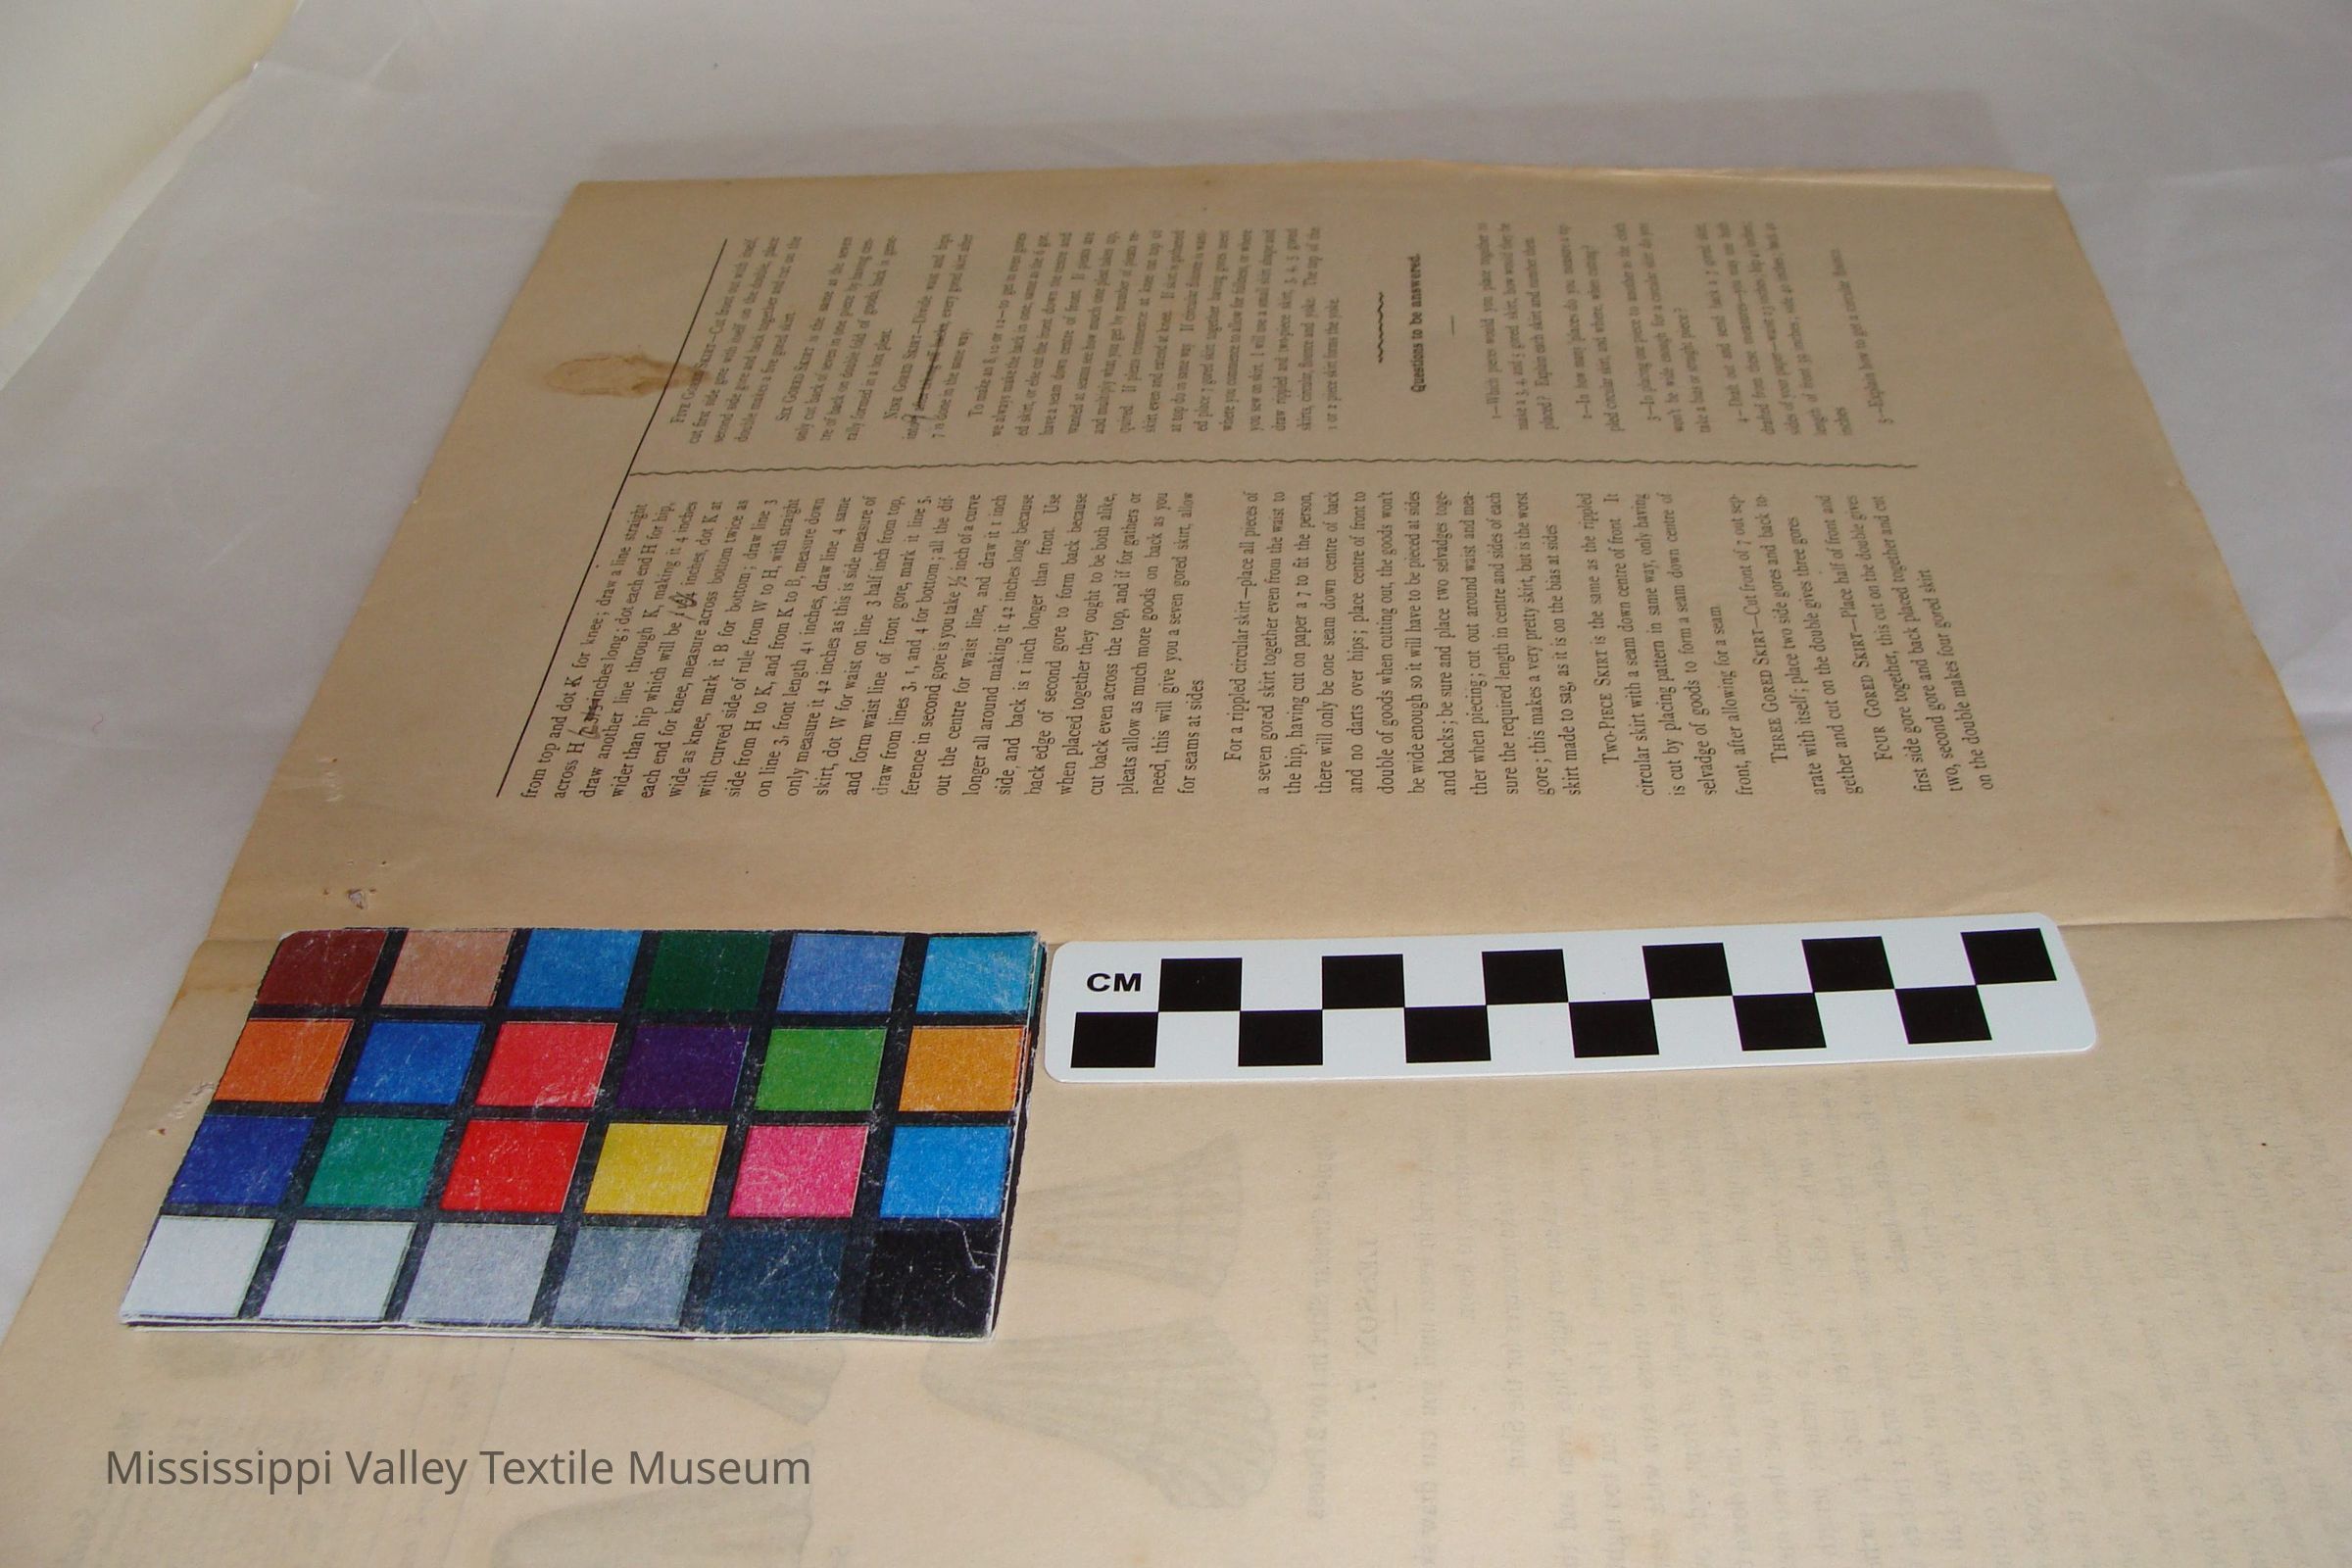
from top and dot K for knee; draw a line straight across H inches long ; dot each end H for hip, draw another line through K, making it 4 inches wider than hip which will be//inches, dot K at each end for knee, measure across bottom twice as wide as knee, mark it B for bottom ; draw line 3 with curved side of rule from W to H, with straight side from H to K, and from K to B, measure down on line 3, front length 41 inches, draw line 4 same only measure it 42 inches as this is side measure of skirt, dot W for waist on line 3 half inch from top, and form waist line of front gore, mark it line 5, draw from lines 3, i, and 4 for bottom ; all the dif-ference in second gore is you take inch of a curve out the centre for waist line, and draw it 1 inch longer all around making it 42 inches long because side, and back is 1 inch longer than front. Use back edge of second gore to form back because when placed together they ought to be both alike, cut back even across the top, and if for gathers or pleats allow as much more goods on back as you need, this will give you a seven gored skirt, allow for seams at sides.
For a rippled circular skirt-place all pieces of a seven gored skirt together even from the waist to the hip, having cut on paper a 7 to fit the person, there will only be one seam down centre of back and no darts over hips; place centre of front to double of goods when cutting out, the goods won't be wide enough so it will have to be pieced at sides and backs; be sure and place two selvadges together when piecing; cut out around waist and measure the required length in centre and sides of each gore ; this makes a very pretty skirt, but is the worst skirt made to sag, as it is on the bias at sides
TWO-PIECE SKIRT is the same as the rippled circular skirt with a seam down centre of front. It is cut by placing pattern in same way, only having selvadge of goods to form a seam down centre of front, after allowing for a seam
THREE GORED SKIRT-Cut front of 7 out separate with itself; place two side gores and back together and cut on the double gives three gores
FOUR GORED SKIRT-Place half of front and first side gore together, this cut on the double gives two, second gore and back placed together and cut on the double makes four gored skirt
/ FIVE GORED SKIRT-Cut front out with itself,
cut first side gore with itself on the double, place second side gore and back together and cut on the double makes a five gored skirt
Six GORED SKIRT is the same as the seven only cut back of seven in one piece by having centre of back on double fold of goods, back is generally formed in a box pleat.
NINE GORED SKIRT-Divide waist and hips
int0^7 after-taking-off backs, every gored skirt after 7 is done in the same way.
To make an 8, 10 or 12 -to get in even gores we always make the back in one, same as the 6 gored skirt, or else cut the front down the centre and have a seam down centre of front. If pleats are I wanted at seams see how much one pleat takes up, and multiply what you get by number of pleats re-
quired. If pleats commence at knee cut top of
skirt even and extend at knee. If skirt is gathered
at top do in same way. If circular flounce is want-
ed place 7 gored skirt together having gores meet
where you commence to allow for fullness, or where you sew on skirt. I will use a small skirt shape and ( draw rippled and two-piece skirt, 3, 4, 5 gored skirts, circular, flounce and yoke. 'The top of the 1 or 2 piece skirt forms the yoke.
Questions to be answered.
, 1-Which pieces would you place together to
make a 3, 4, and 5 gored skirt, how would they be placed ? Explain each skirt and number them.
2-In how many Iplaccs do you measure a rip-pled circular skirt, and where, when cutting?
3-In placing one piece to another as the cloth , won't be wide enough for a circular skirt do you
, take a bias or straight piece ?
4- Draft out and send back a 7 gored skirt, drafted from these measures-you may use both ) sides of your paper-waist 23 inches ; hip 41 inches; length of front 39 inches; side 40 inches; back 40
1 inches
5-Explain how to get a circular flounce.
[end]Collection
Patterns CollectionCataloged By
Whit, ElizabethLexicon
Nomenclature 4.0
Nomenclature Primary Object Term
PatternNomenclature Sub-Class
Needleworking EquipmentNomenclature Class
Textileworking T&ENomenclature Category
Category 04: Tools & Equipment for MaterialsLOC Thesaurus for Graphic Materials
NewspapersLocation
Location
Container
Box 5Shelf
Shelf 19Wall
Whit, ElizabethRoom
Collections RoomBuilding
M.V.T.M.Category
PermanentDate
November 7, 2023Location
Container
Box 2Shelf
Shelf 7, Shelf 7Wall
Whit, ElizabethRoom
Collections RoomBuilding
M.V.T.M.Category
PermanentMoved By
Whit, ElizabethDate
August 24, 2017Location
Container
Box 5Shelf
Shelf 19, Shelf 19Wall
Whit, ElizabethRoom
Collections RoomBuilding
M.V.T.M.Category
PermanentMoved By
Whit, ElizabethDate
August 24, 2017Location
Container
Box 2Shelf
Shelf 12, Shelf 12Wall
Whit, ElizabethRoom
Collections RoomBuilding
M.V.T.M.Category
PermanentMoved By
Whit, ElizabethDate
July 28, 2016General Notes
Note
Status: OK
Status By: Cotter, Ellen
Status Date: 2022-02-08Created By
admin@catalogit.appCreate Date
July 28, 2016Updated By
admin@catalogit.appUpdate Date
November 11, 2023