Name/Title
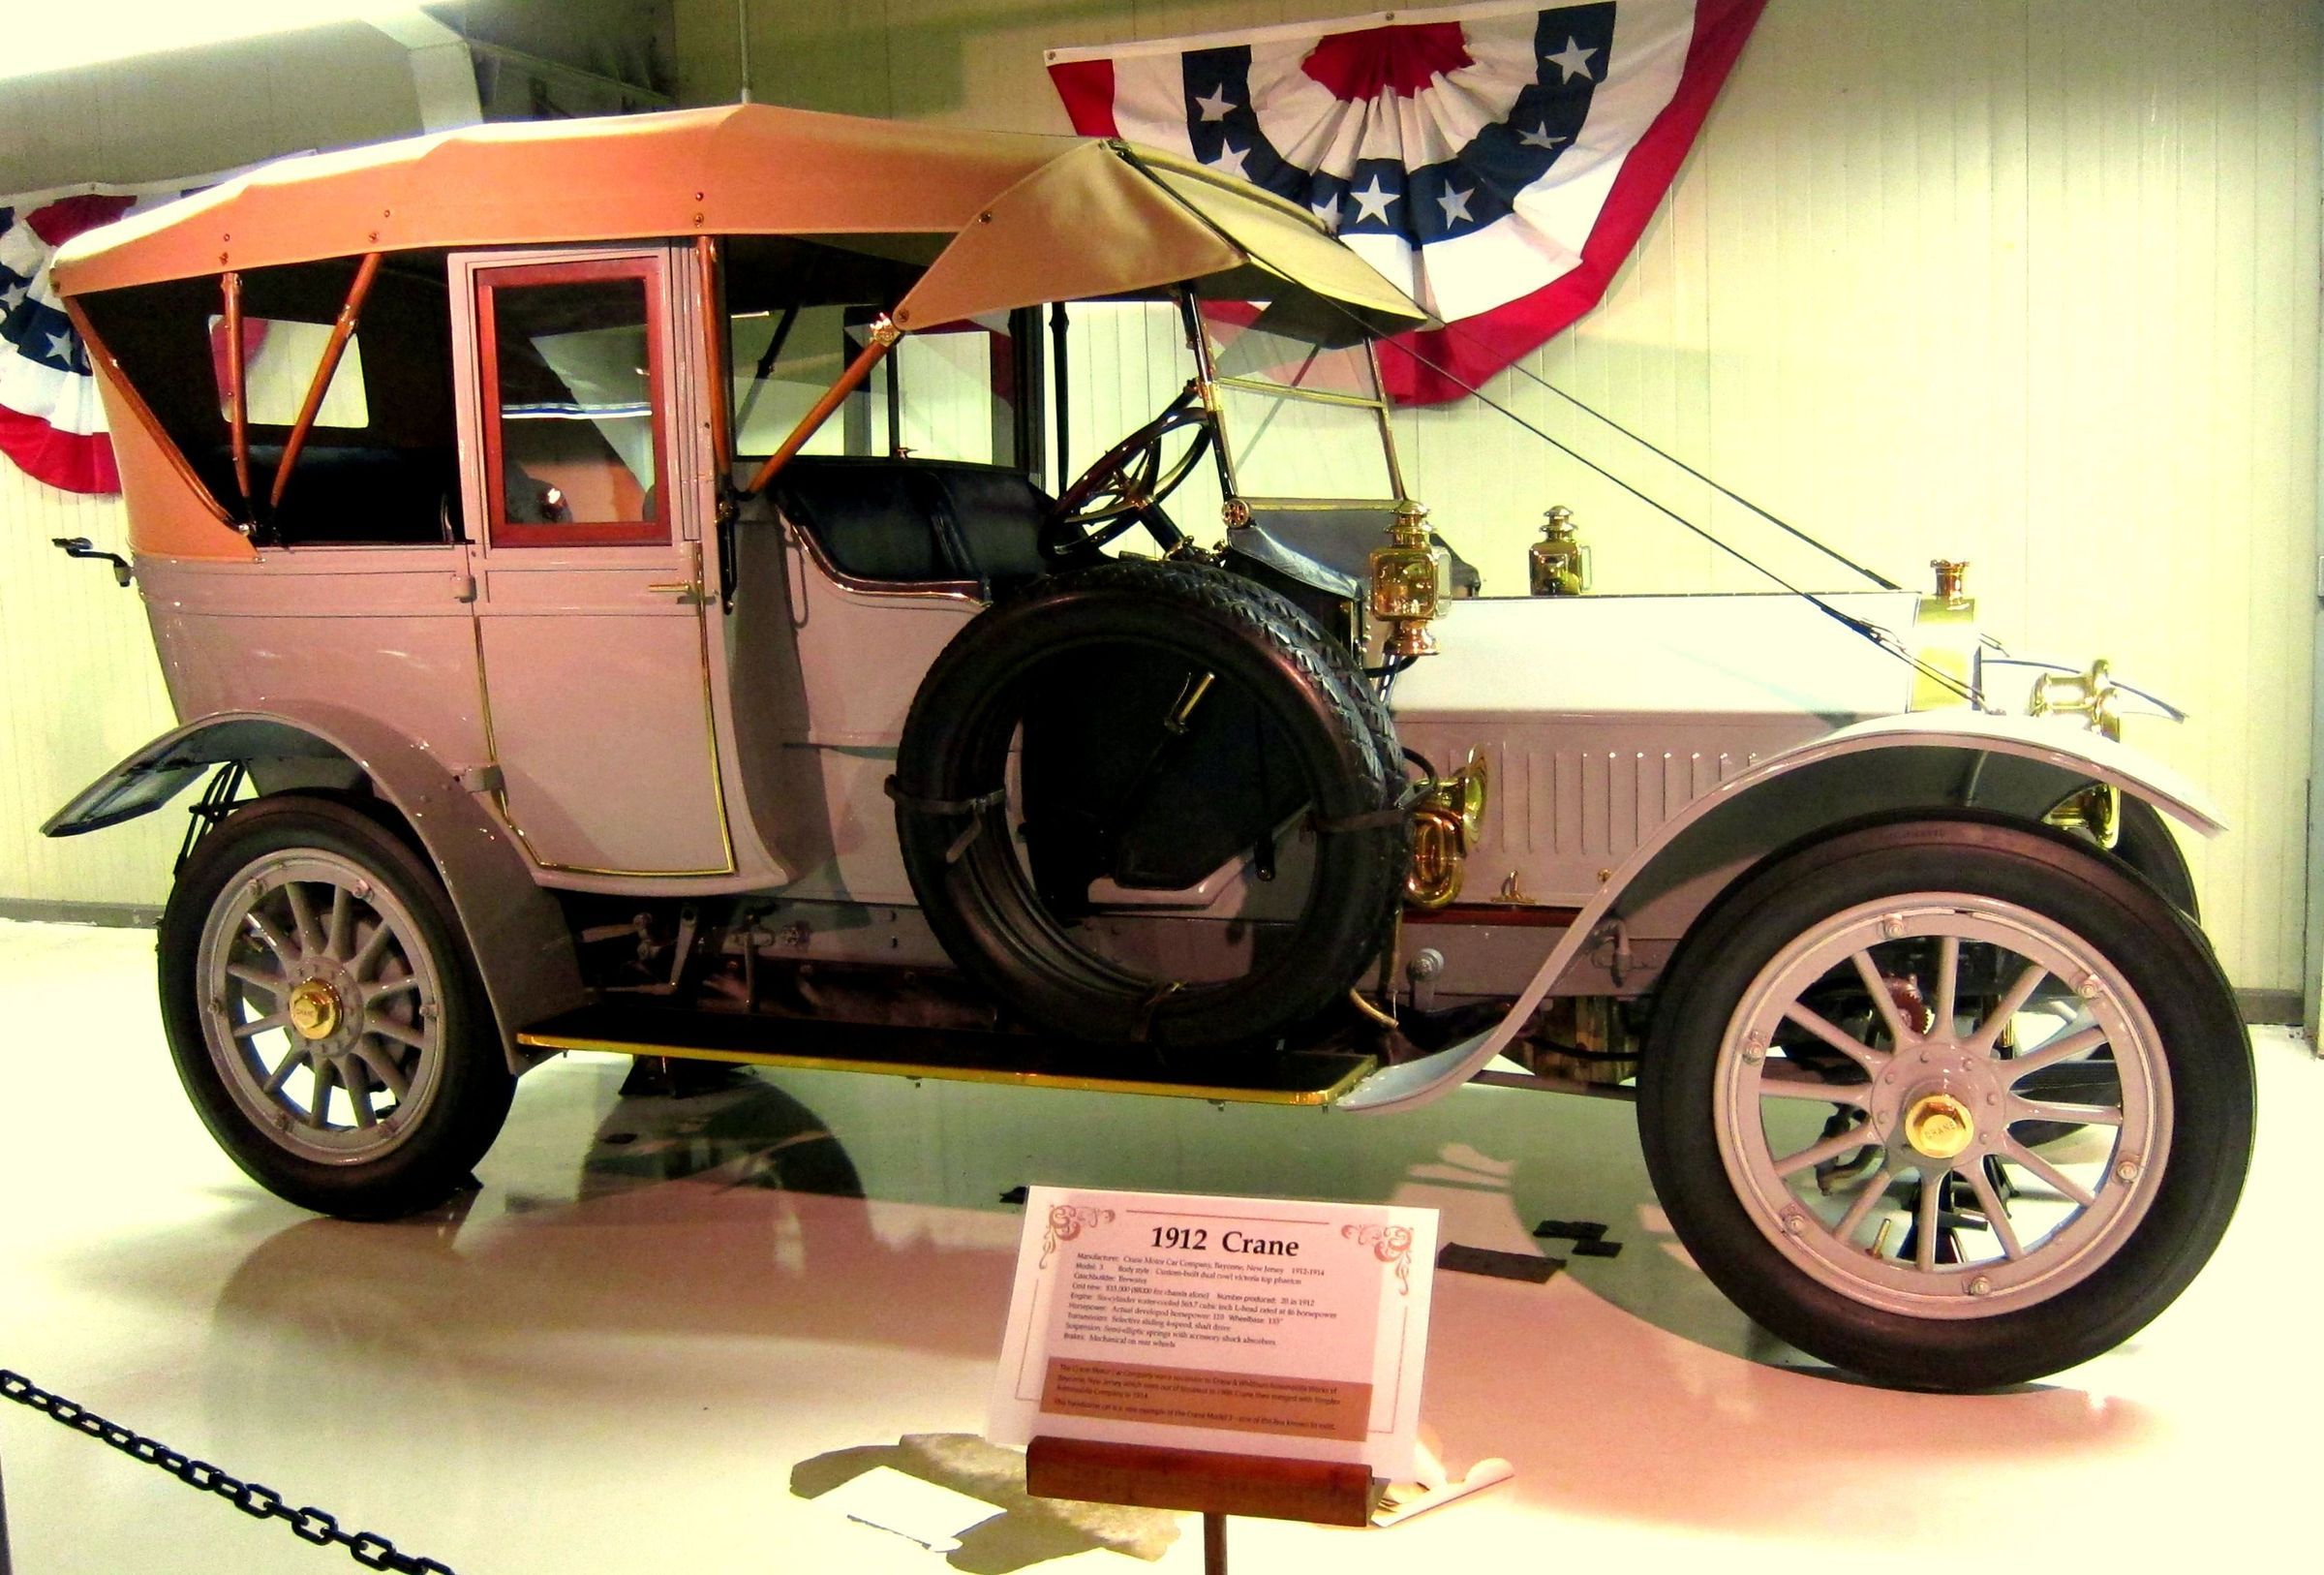
Crane 1912Description
Information relative to the original(existing ) Brewster body and a second, "Standard Touring Landaulet," body listing no chassis number is on file in the vehicle binder. It is suspected that this is the lost "Winter Body."
Family history information relative to the original owner, Helen Hartley Jenkins is also on file in the vehicle binder.
Crane six chassis, seven passenger Touring Car sporting custom coachwork by the renowned firm of Brewster & Company of Springfield, MA. The body is gray with brass trim, a black leather interior, and gray spoked wheels. Factory price for chassis alone was $8,000. Estimated cost of custom made Touring body by the Brewster Company was another $8,000.
Powered by a six cylinder engine (563.7 cubic inch) which produced an advertised 46 horsepower, but actually produced an amazing 110 horsepower. Four-speed, selective sliding, shaft drive transmission with four speeds forward and one reverse.
Operating Instructions
1912 Crane
General Information
Model 3 (#15 of 20) produced in 1912. Body by Brewster; engine- six-cylinder water-cooled 563.7 cubic inch L-head rated 46 HP; started by compressed air.
The transmission is four speed selective sliding; the shift pattern is a capital H (with 1st gear being the upper left of the H and 4th gear being the lower right of the H). The gear shift lever is inside the cab at the driver's right knee. Reverse is accessed by depressing the small lever on the gear shift lever and moving the shift lever to the far left and up (toward the driver's knee). "Double clutching" (depressing the clutch to move out of one gear, releasing the clutch, and depressing the clutch again to shift into the next gear) is recommended when shifting gears.
The floor pedals are standard manual configuration (clutch on the left, brake in the center, accelerator on the right). The starter "button" is on the floor board to the left of the driver's foot (about mid-way of the auto).
The instrument panel has two, large (4"), round displays (clock on the left and odometer on the right).
There are four, small (2"), round gauges in a diamond shape pattern below the clock.
These 4 gauges measure (in clockwise order):
1. The top gauge measures air tank pressure (PSI) for starting the engine.
2. The middle right gauge measures oil pressure.
3. The middle left gauge shows pressure (PSI) in the fuel tank.
4. The bottom gauge shows generator output.
Ignition is controlled by a round (3") "dial" to the left of the instrument display.
The small (3/4") inner dial (knob) has two positions: right (2 o'clock) to "start" and left (10 o'clock) to "run." The auto may also be started with the knob dial in the "Run" position.
The larger dial (which has a lever) has three positions:
1) "Off"-in the 12 o'clock position, 2) "Start"- in the 2 o'clock position to start with the battery power, and 3) "Run"- in the 10 o'clock position to operate the car using Bosch magneto power. The car is driven in "Run" after starting.
The steering column has a small lever to be used when the engine is running to re-pressurize the starting air tank.
Pressurization is best done when the auto is at a very slow idle, not running. There is a round "mixture control" dial (1.25") that leans or richens gas flow into the cylinders. This should be left in the "rich" position.
There are two levers in the steering wheel itself.
The top lever is an alternate throttle control (4 o'clock-minimal throttle; 2 o'clock-increased throttle). The lower lever controls spark to the cylinders (4 o'clock to advance engine detonation; 6 o'clock to retard detonation-when engine is "lugging" up a hill).
The light switch is in the center of the dashboard; rotate to operate.
There are two items on the left of the dashboard (by the passenger door): a fire extinguisher (inoperative) and a small hand pump used to pressurize the fuel tank prior to starting.
Operating instructions are outlined below.
Pre-Starting
1. Check the radiator coolant (NOTE: Only when engine is cool) - Unscrew the radiator cap (top of the radiator; front of the car) and visually inspect. The coolant level should be approximately 2" below the top.
2. Check that battery is connected under driver's seat.
3. Open the driver's side (right) hood.
4. Open the fuel line (move the fuel cutoff lever in line or parallel with the fuel line). Cutoff valve is next to the black hexagonal fuel filter cap (toward the driver).
5. Check the oil level. Oil sump is below carburetor at the bottom of the engine.
The indicator is a rotating lever that should be in the 4 o'clock position. Move the lever to the left (8 o'clock position) and it should return to the 4 o'clock position if oil level is sufficient.
6. Pressurize the starter air tank- The starter air tank must be pressurized to approximately 100 PSI. Open the pressure valve (control wheel to the right of the input stem) and verify tank pressure by reading the top gauge (diamond configuration) on the dash board. If additional air pressure is required increase pressure with external air source through input stem.
The input stem is on the driver's side of the car beneath the passenger door. Air pressure is added as if inflating a tire; be careful not to bend the valve stem. Close the pressure valve control wheel when pressure is sufficient.
Starting-Cold (Initial) Starts
1. Prime each cylinder- add gas in the priming "cup" at the top of the cylinder until full, then open petcock valve (move from perpendicular to cylinder to parallel to cylinder-up or down) to allow gas to enter the cylinder. Do 2 times for each cylinder.
2. "Choke" the engine- To enrichen the mixture initially; depress the small button on the float bowl (next to carburetor-away from driver- toward front of car) several (2-3) times.
3. Close the hood.
4. Enter the car.
5. Pressurize the fuel tank-using small pump next to fire extinguisher. Pump until 2.5-4 PSI reads on the middle left gauge in the diamond display cluster.
6. Spark (bottom lever in steering wheel) set to "retard" or 6 o'clock position.
7. Throttle (upper lever in steering wheel) set to 2:30 o'clock position.
8. Ignition Switch
a. Inner (small knob) - turn right (2 o'clock position) to "start." Starting may also be done in the "run" (10 o'clock) position.
b. Larger lever- turn right (2 o'clock position) to "B" using the battery.
9. Depress starter button (in floor board left of driver's foot) until the engine starts. If engine does not turn over put shift lever in 4th gear and rock vehicle back and forth to reposition crank shaft.
10. After engine start, change the ignition switch to:
a. Inner (small knob)- turn left (10 o'clock position) to "run."
b. Larger lever- turn left (10 o'clock position) to "M" (on the magnetos).
11. Re-pressurize the starter air tank (when pressure is below 80 PSI on the top gauge of diamond cluster) - retard engine speed to a very low RPM and slowly move the small lever on the steering column up (parallel to the steering column) to engage the engine pressure pump. When the top gauge reads "100," move the lever back down (perpendicular to the steering column).
Starting- Warm (Subsequent) Starts
Repeat Steps 5-11 above.
Driving
1. Shift into gear.
2. Dis-engage the hand (emergency brake) - lever outside the cabin on the driver's side.
3. Operate as usual.
Shut Down
1. Ignition switch- large lever to "off" or 12 o'clock position.
2. Set hand (emergency) brake.
3. Exit the auto.
4. Open the right (driver's side) hood.
5. Shut off fuel line (perpendicular to gas line).
6. Close the hood.
7. Ensure the starter pressure valve (next to pressure stem under passenger door) is closed to prevent air pressure from leaking out for next start.
8. Activate anti-theft system (just kidding!!)